Yes, another keyboard. No it won’t be the last one, there’s no point on trying to fool myself. This kit is available on AliExpress and was also sold on Drop (previously Massdrop). The one I got was from Drop, 1st batch.
The ID80 is relatively cheap compared to other keyboards with a full aluminium case. And it’s hotswap. And it runs on QMK. That’s why I decided to buy it. I only own plastic/acrylic keyboards and really wanted to know how an aluminium one feels and sounds.
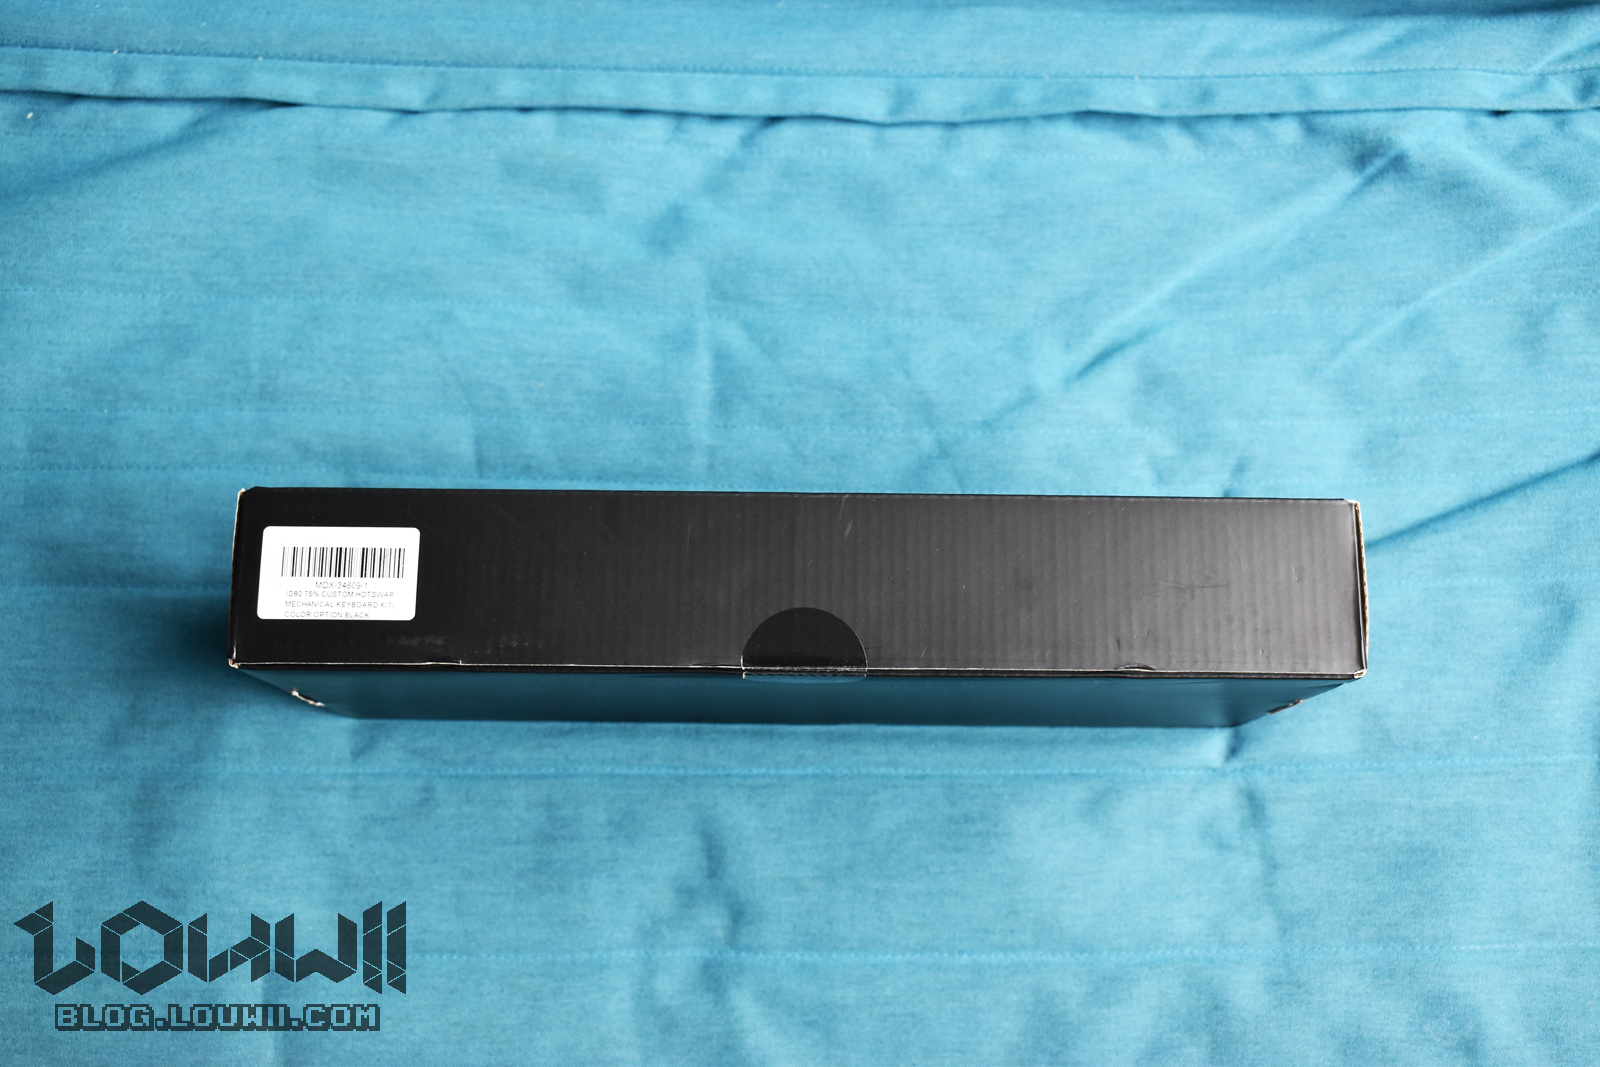
Like usual for Drop, the keyboard arrived late compared to the date announced. I was expecting it though, so it didn’t really bother me. I’ve ordered the kit on March 28th. Estimated shipping was May 18th. Mine was shipped on July 7th and arrived July 23rd. Again, I expected it (and Drop sent a few emails about the delay).
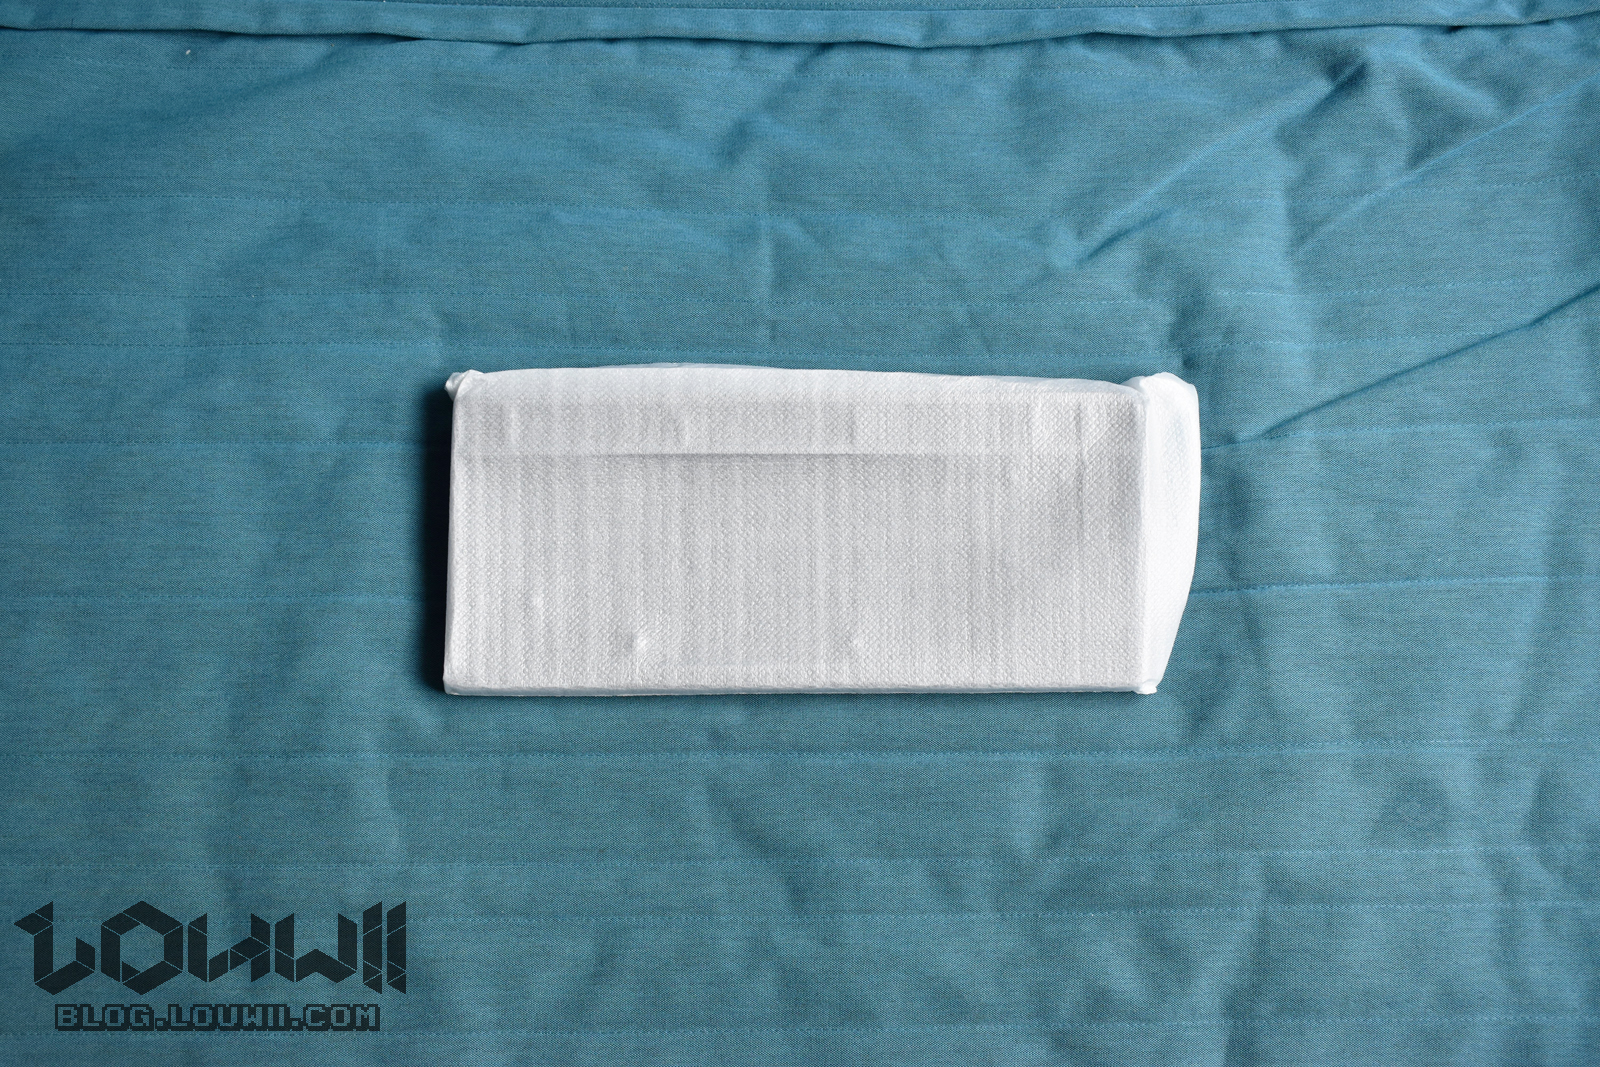
It arrived in one piece though, with no damage, so I was quite happy about that. The board arrives in a bubble wrap envelope, with the cardboard box inside.
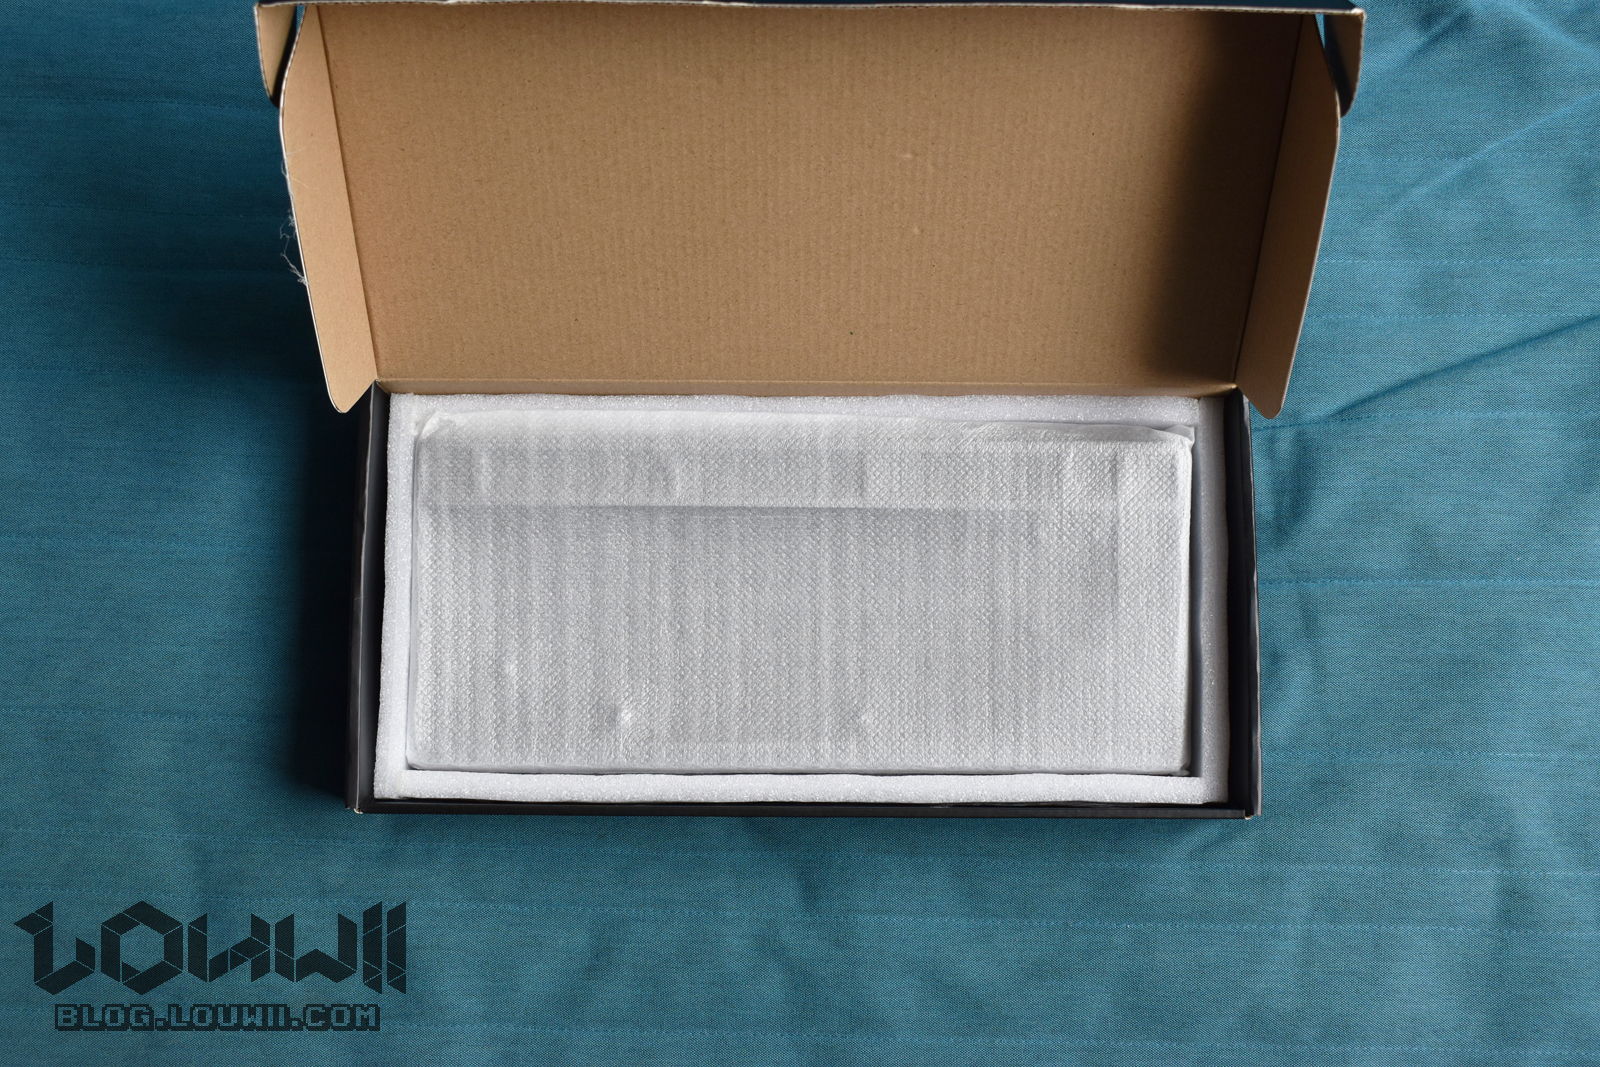
Inside the box, there was a small plastic bag containing a few accessories. And more importantly, under the tick foam, the keyboard.
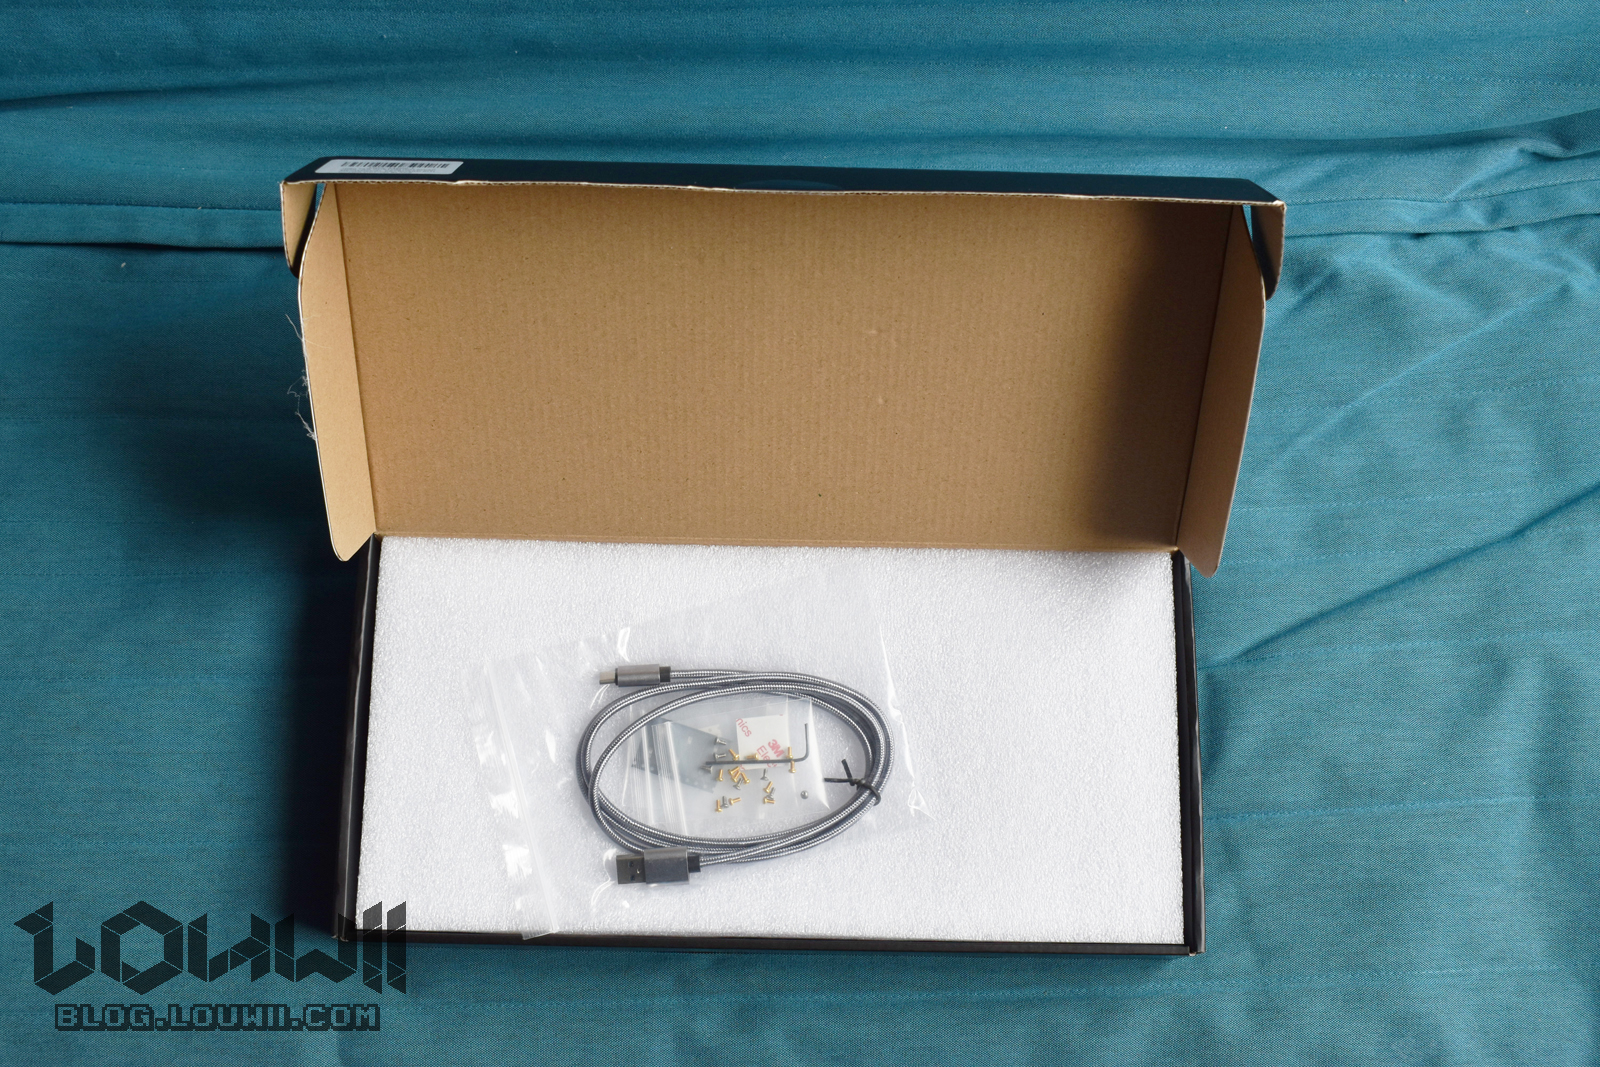
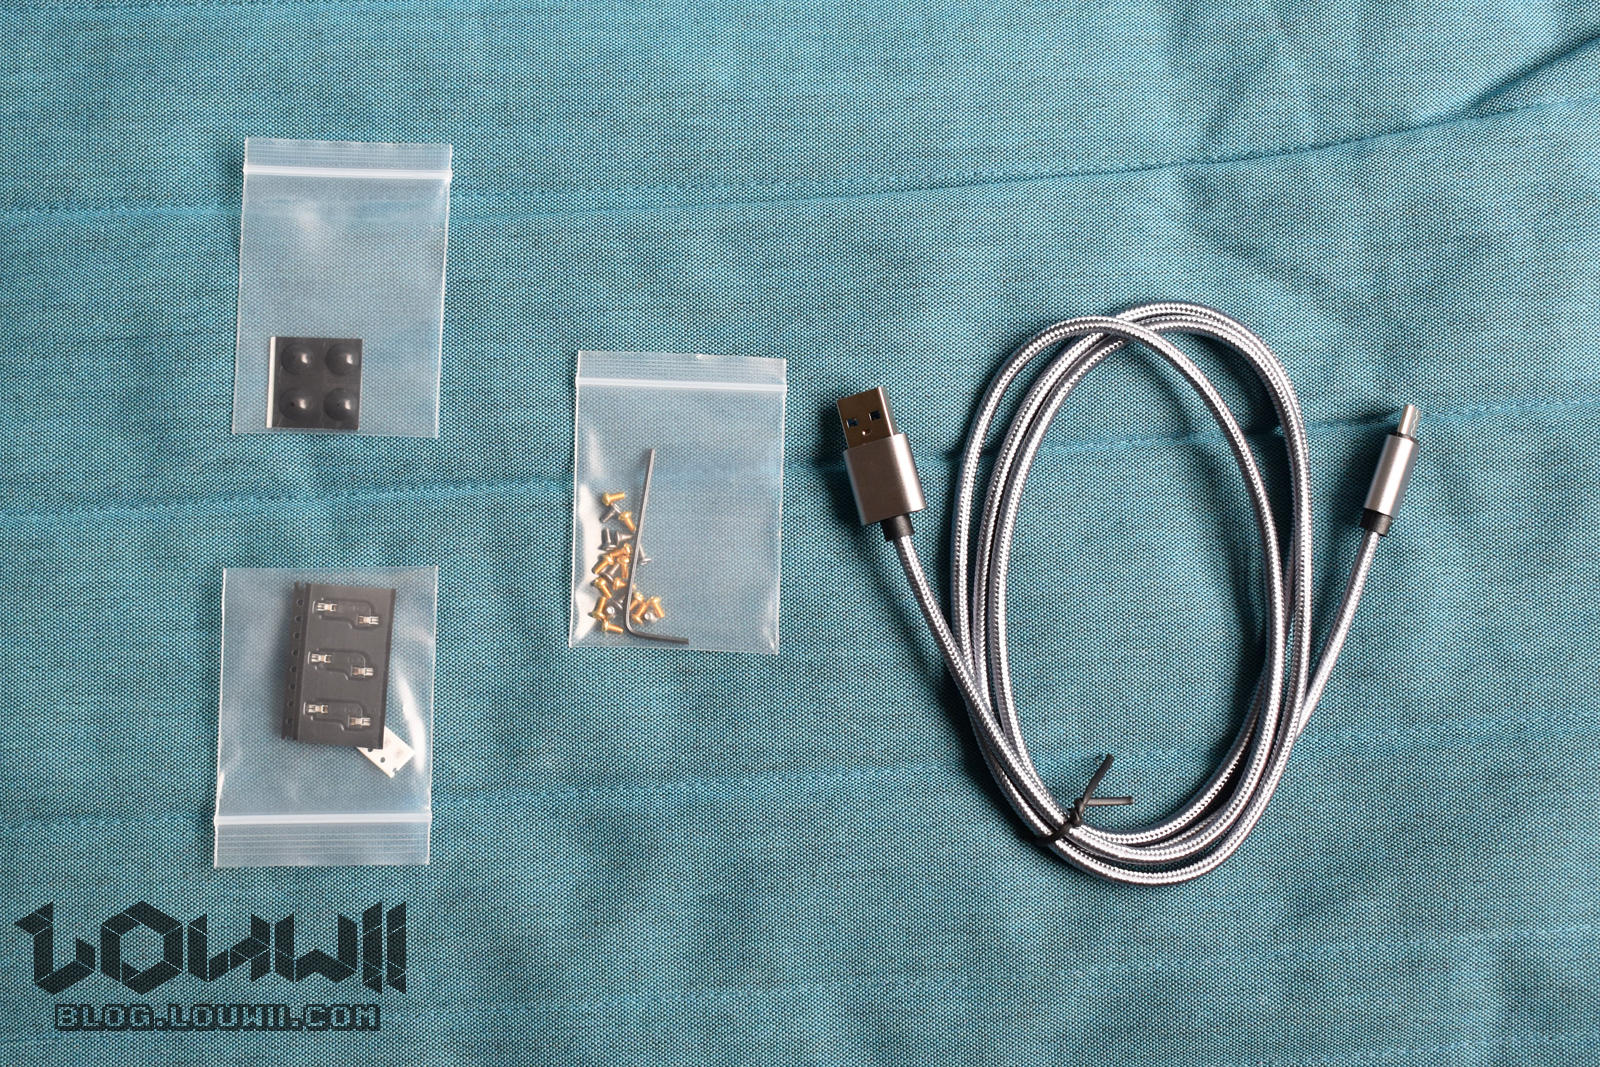
Quick look at the accessories. We have 3 extra hotswap sockets, 3 extra diodes, 4 rubber feet, an Allen key, silver screws and golded screws, and lastly, a USB-C cable (115cm long). That cable is actually decent, it’s quite thick, good finish. It’s so thick that it’s not easy to bend, and it kind of keeps the shape you give it. It’s totally fine and will do the job while waiting for a nice/better custom one. The silver screws are for securing the back plate of the case to the case, and are Allen screws which you can use the Allen key for. The golden screws are for securing the PCB to the case, and are Phillips screws, so you’ll need your own screw driver for those.
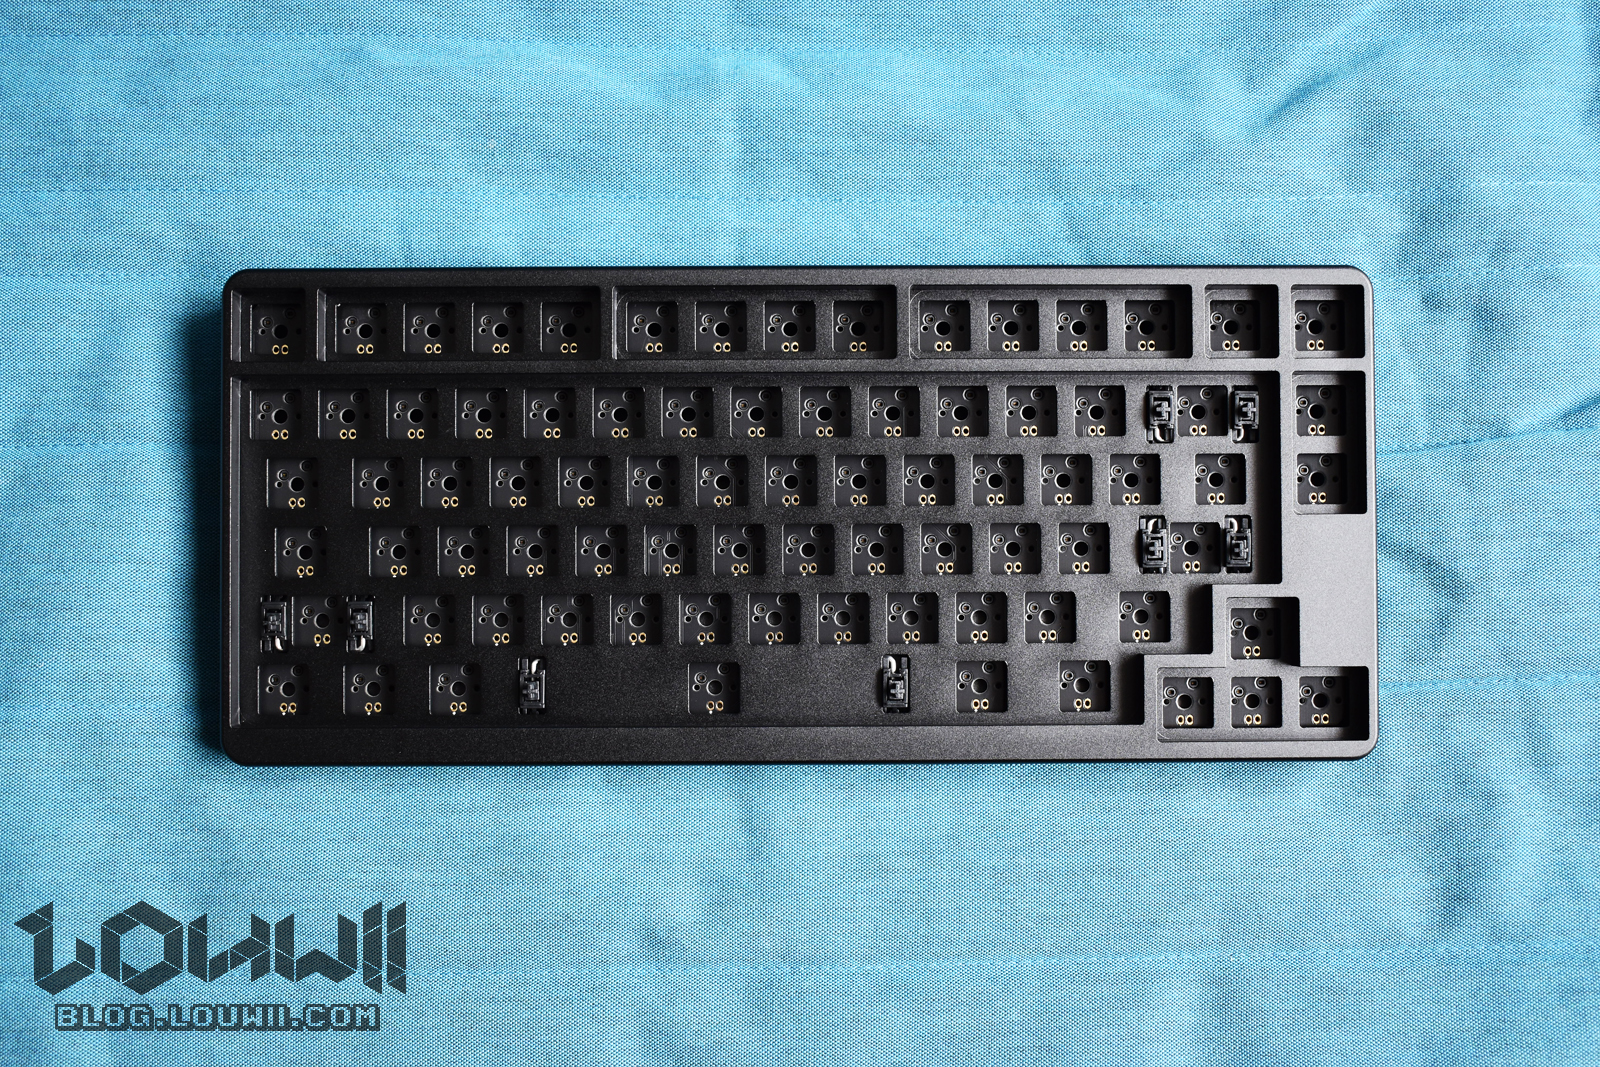
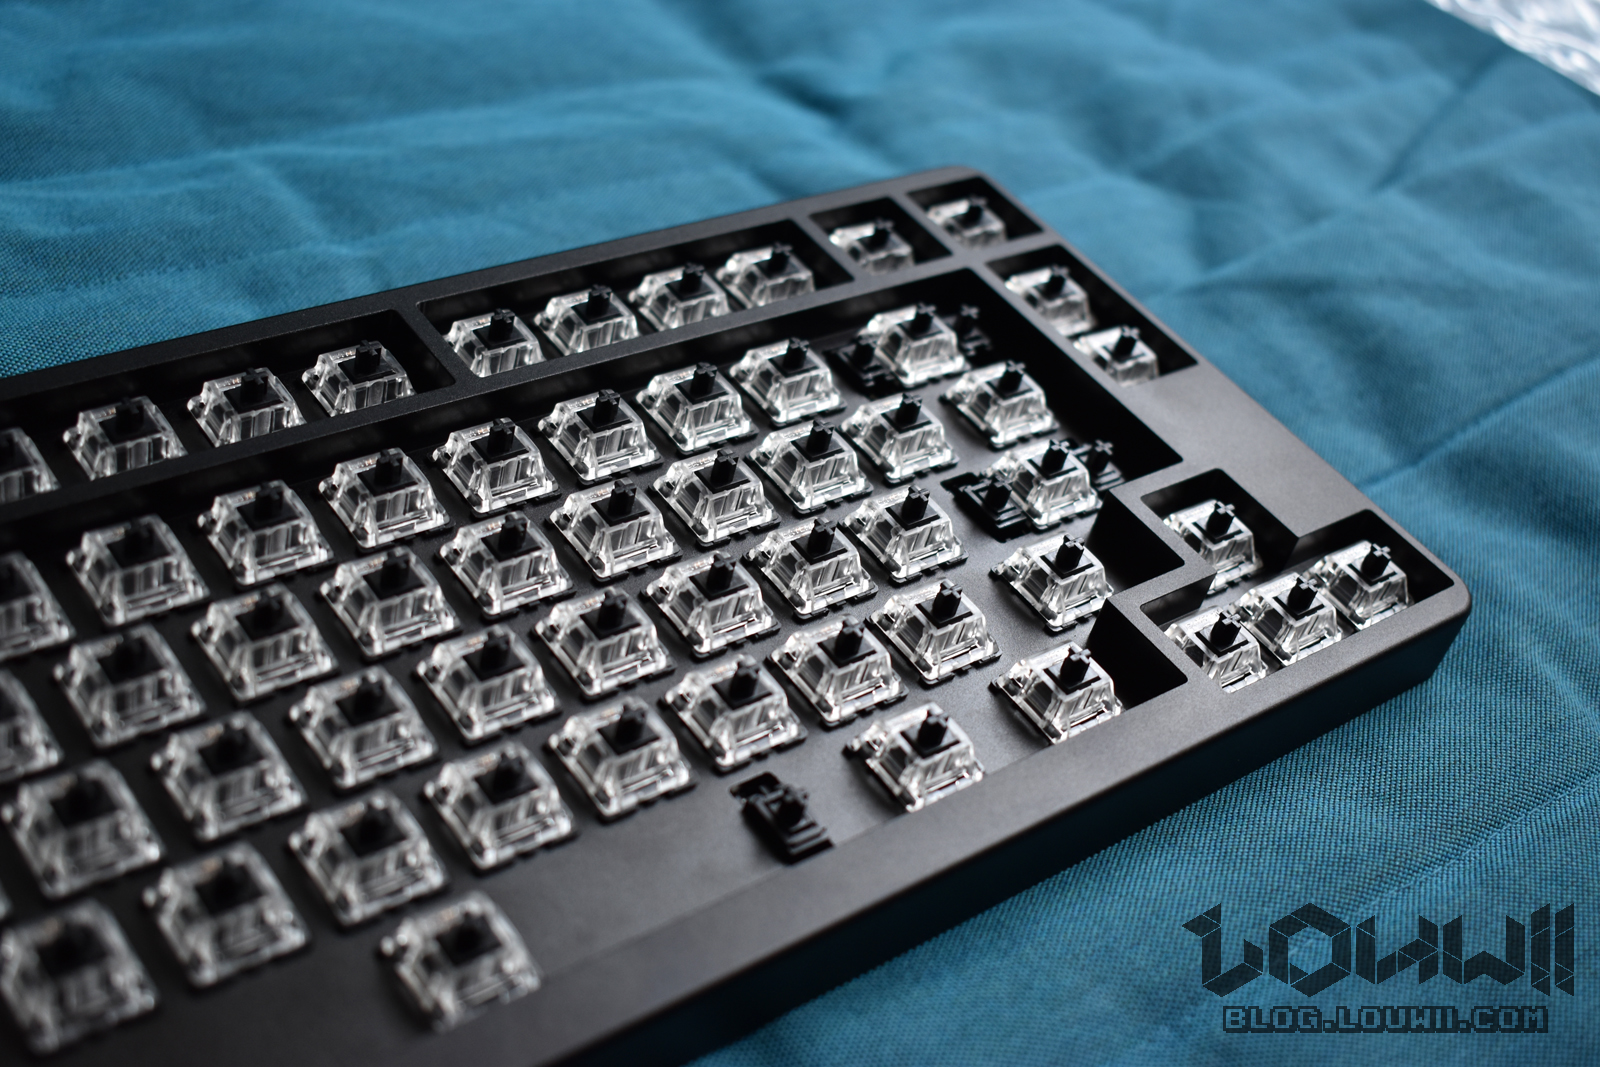
Now let’s look at the keyboard. It looks pretty good, isn’t it? I’ve looked all around and no cosmetic damage whatsoever. Nice! It’s super smooth to the touch too. Sorry for the pictures, the lighting wasn’t great when I took them. The “grainy” black you’re seeing is actually completely invisible to the eye. The last picture is probably the most representative to how the keyboard looks.
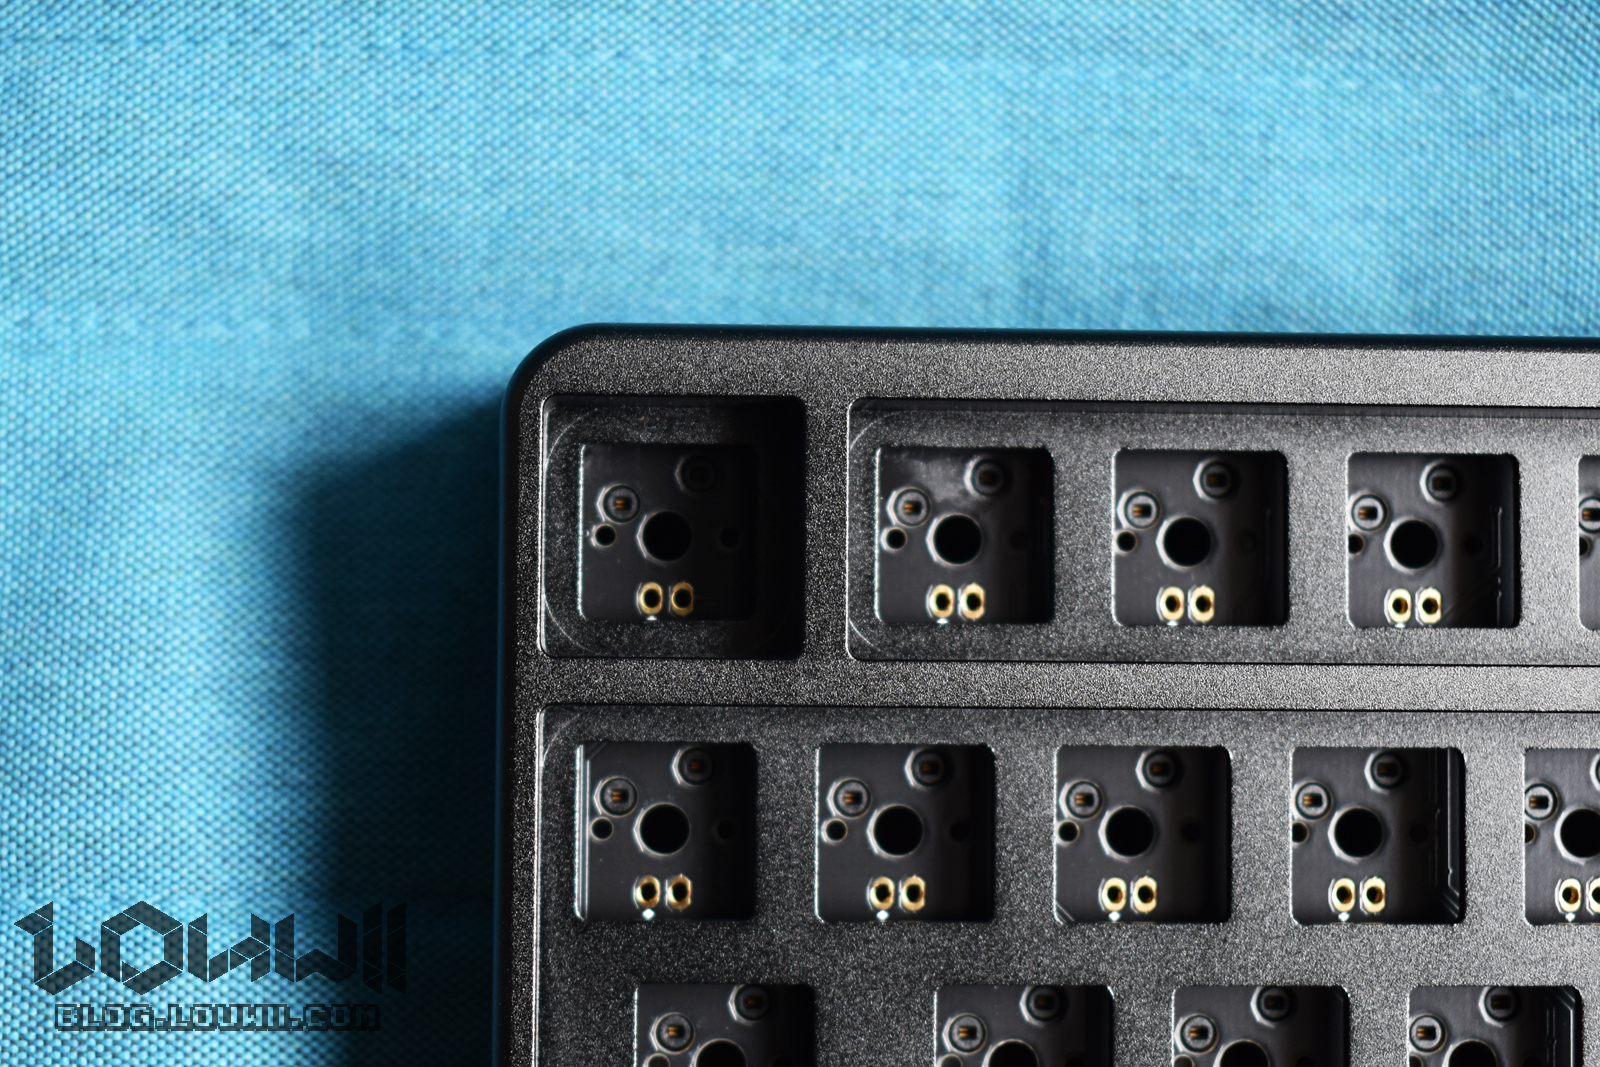

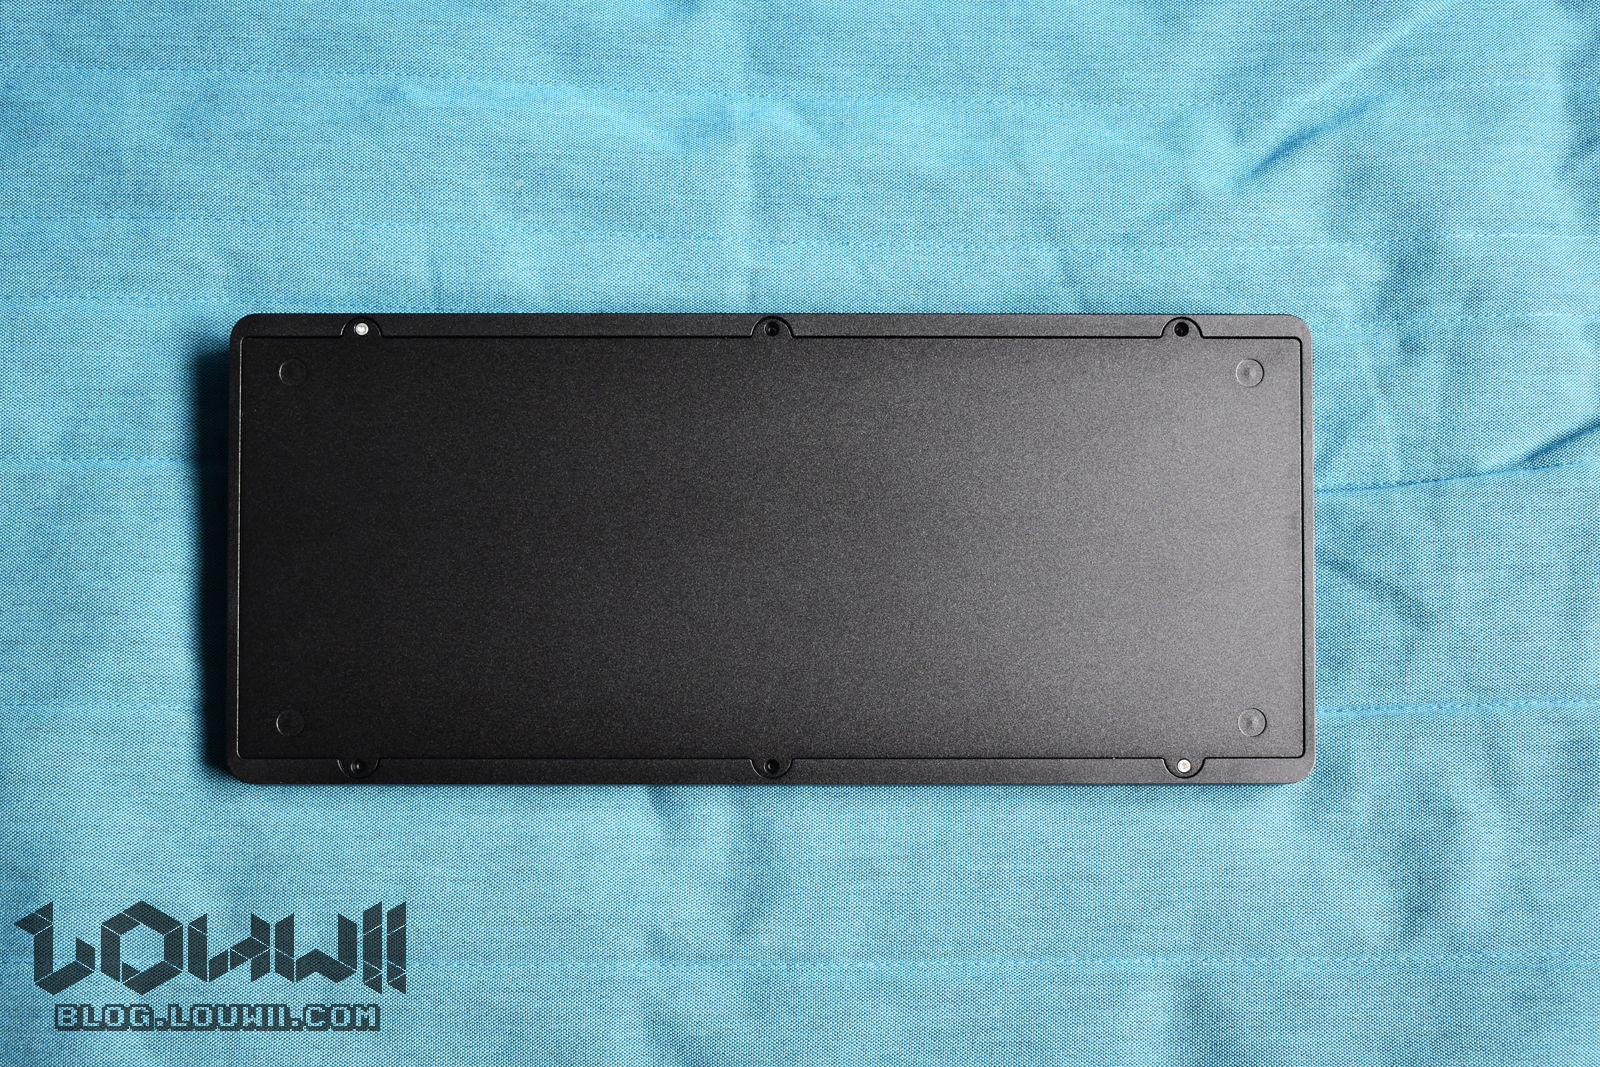
You might think the keyboard is ready to go, but it’s only half assembled and will require a bit of assembly before inserting your switches in. So first thing, remove the 2 screws at the back to remove the back plate. Then remove the 2 screws holding the PCB in place. It’s now time for inspection.
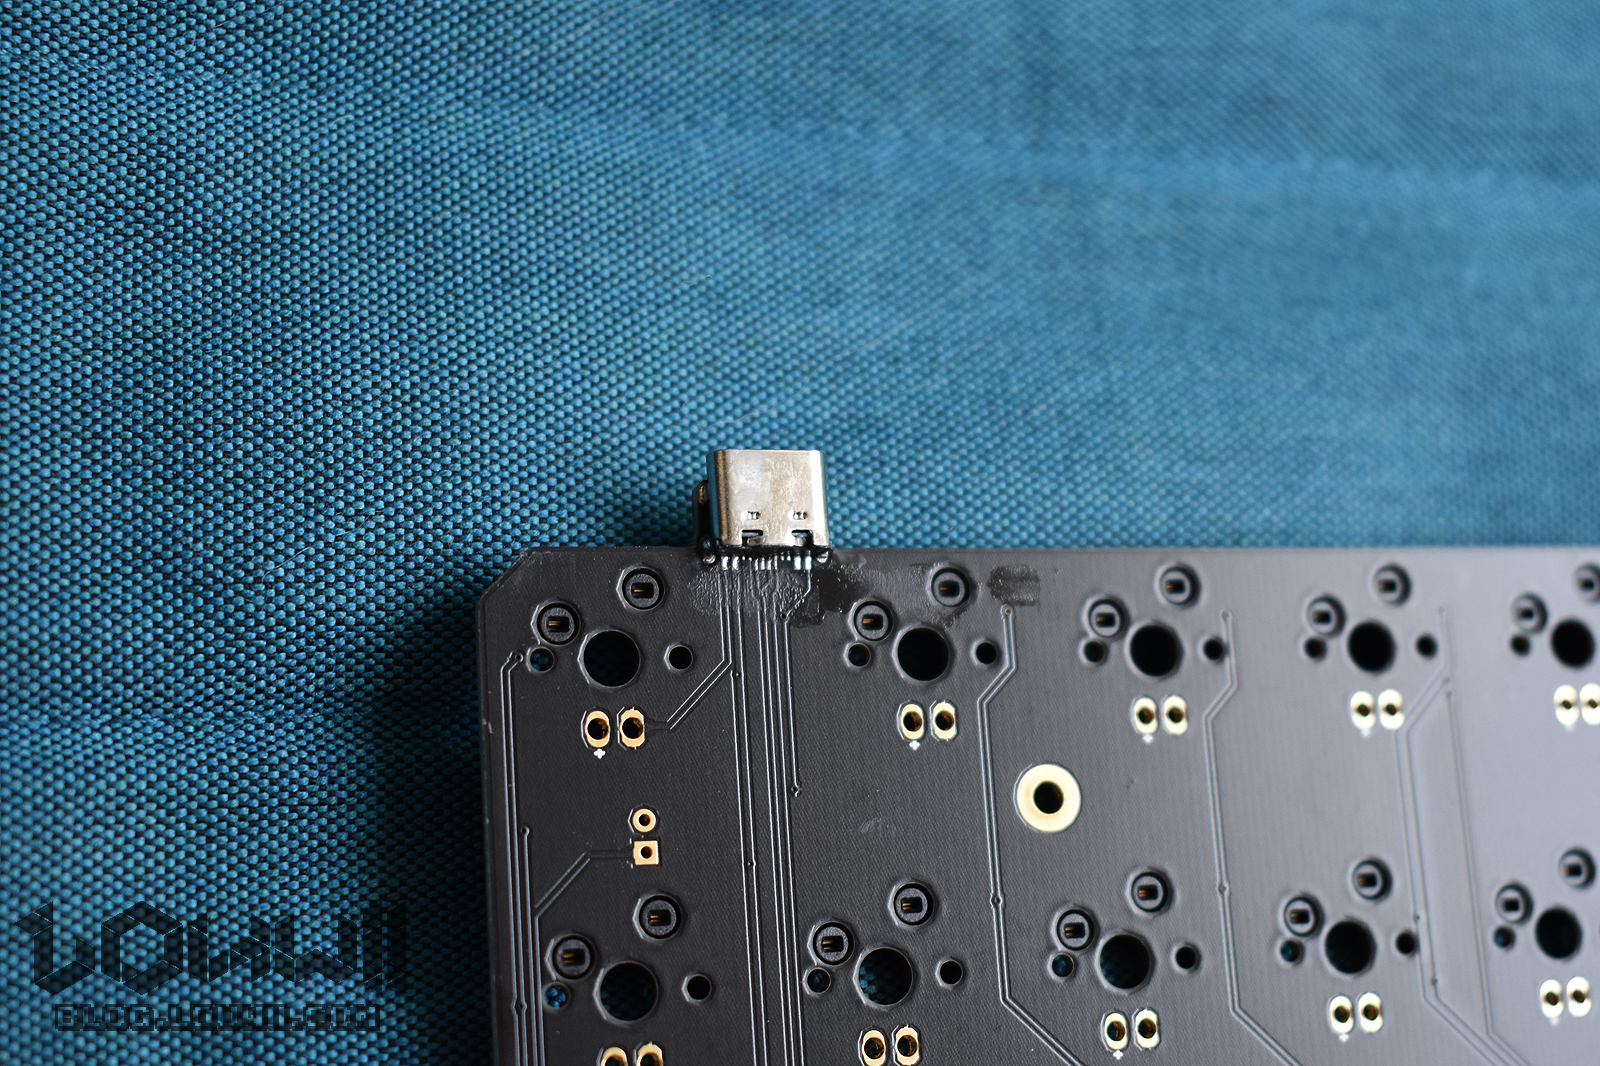
Nothing major. There’s a bit of residue on the top left and top right, no idea what it is, not really a problem.
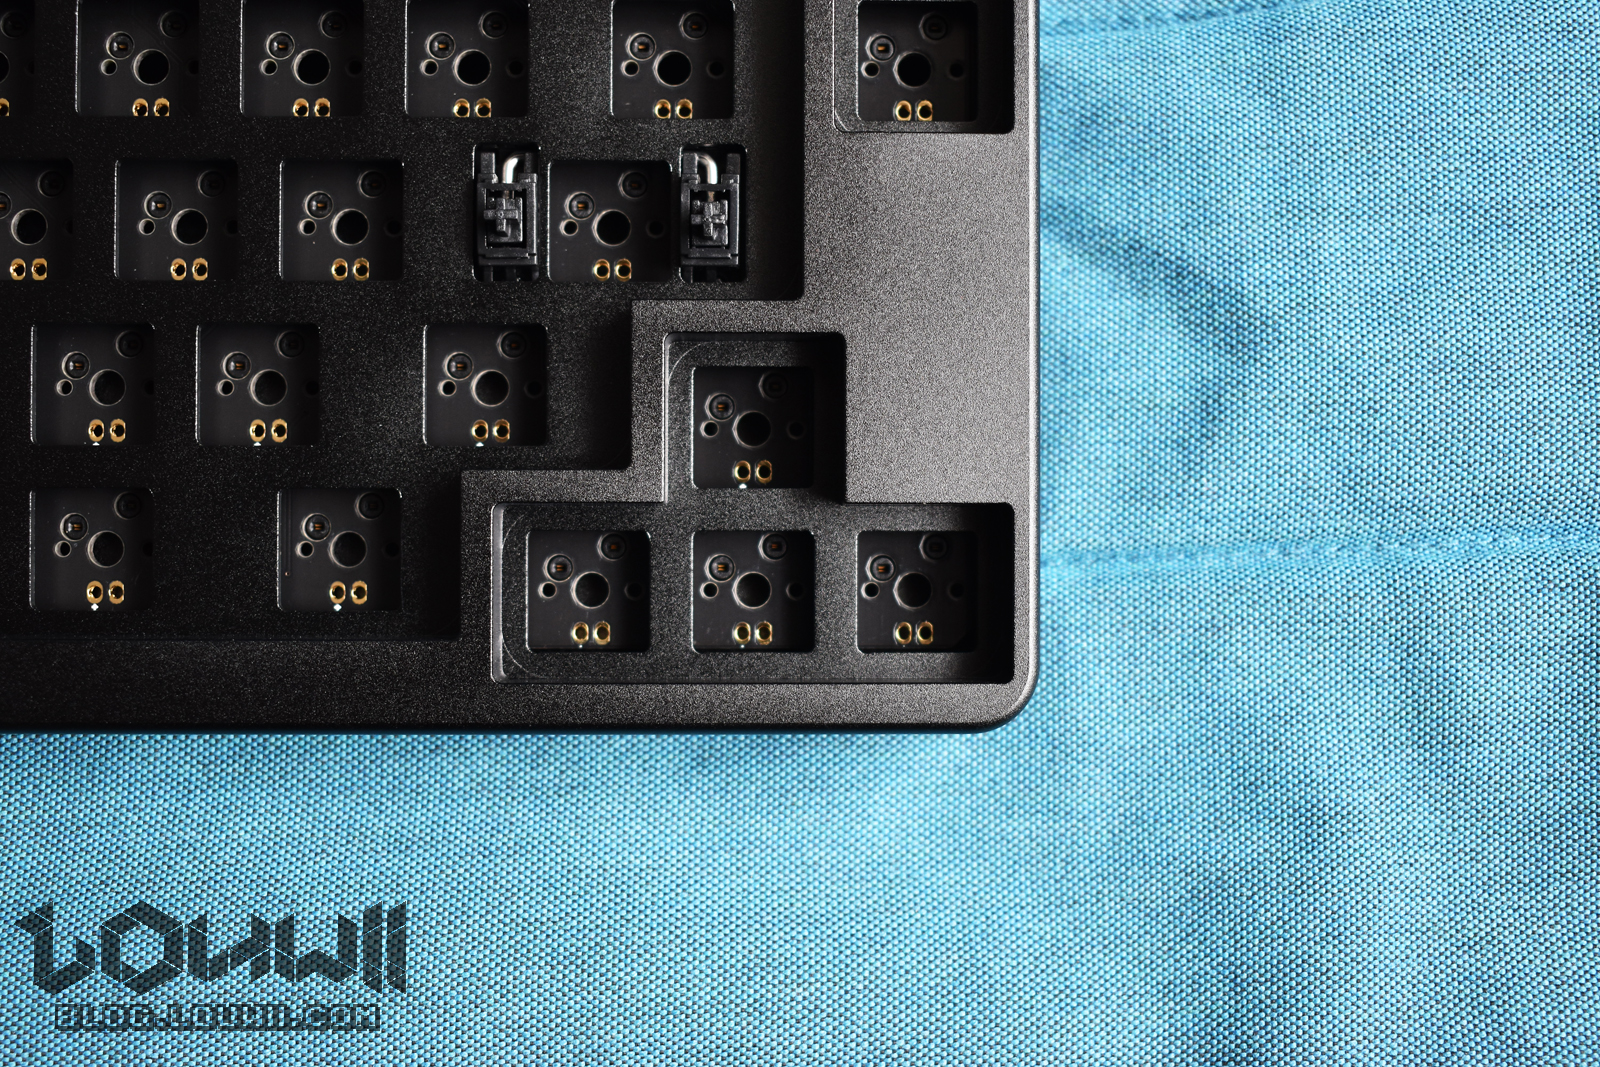
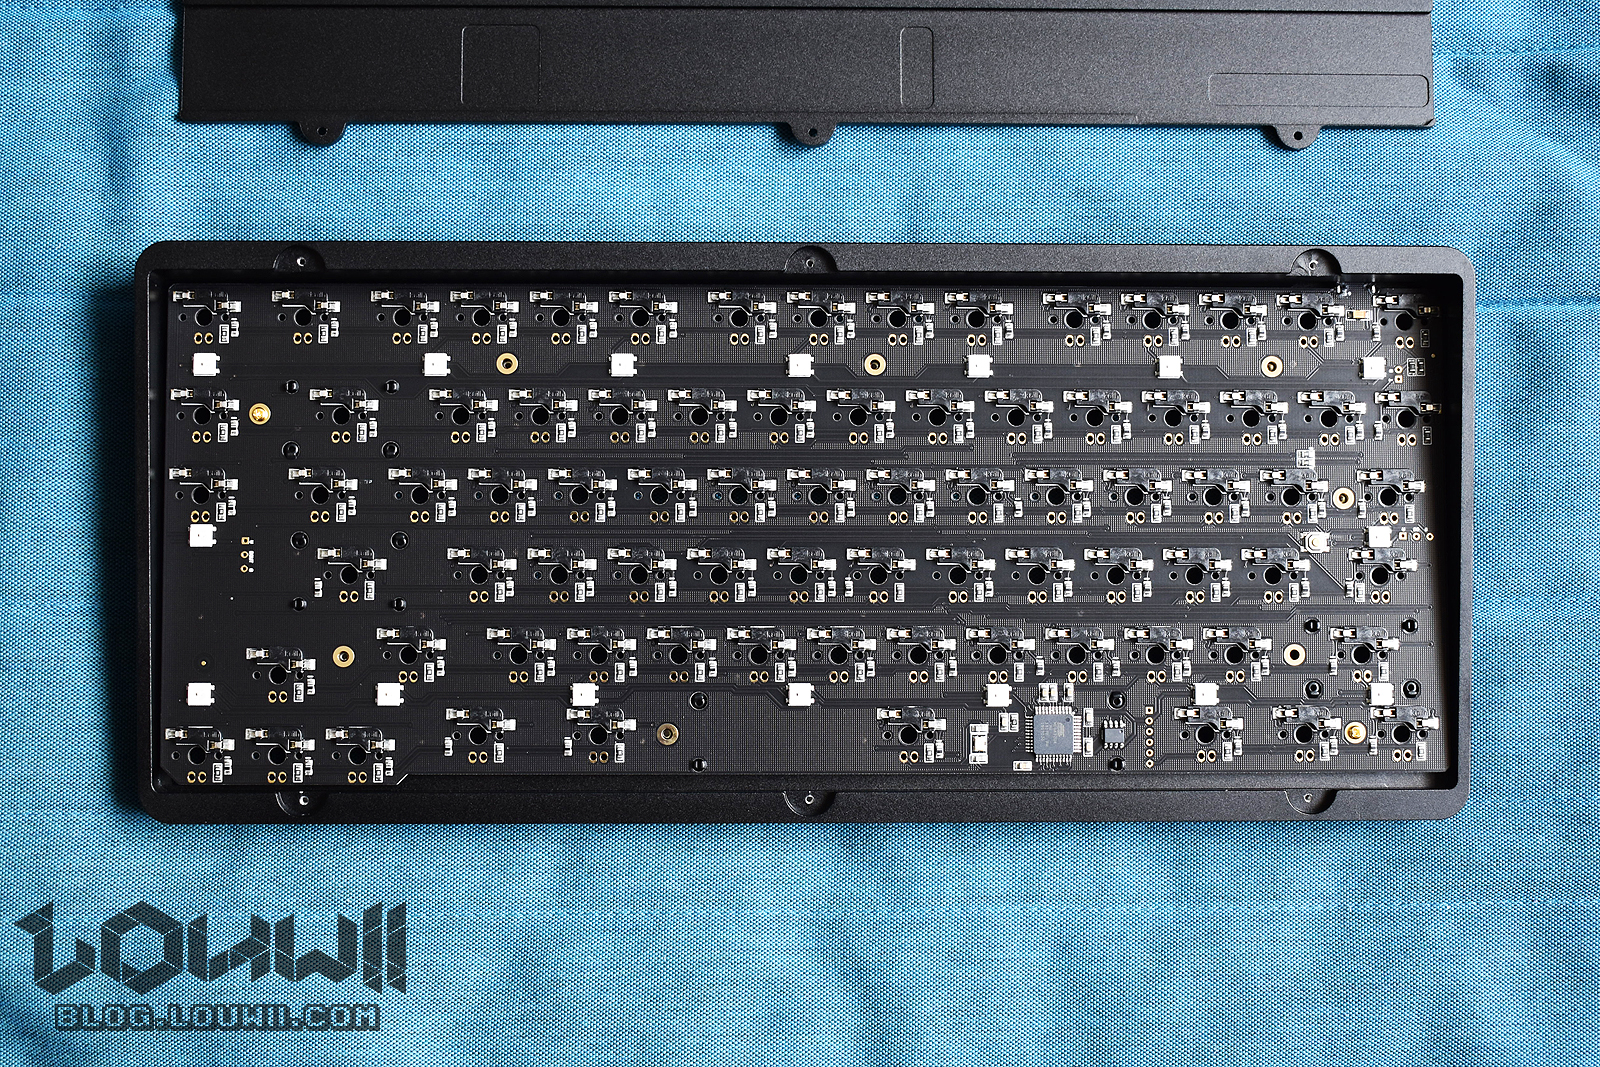
Let’s talk RGB LEDs real quick. The board has RGB underglow, but clearly the case has no use for it, you won’t see anything if you turn them on. There’s apparently an acrylic bottom plate that you can buy to get some of that sweet RGB light (thanks debido666 in the comments). If you look on the next picture, you’ll see 2×3 spots for RGB LEDs on the right side of the PCB, which is the top of the PCB. This might seem weird, but that’s because the PCB is actually a copy of an existing keyboard that does have a use for them, the Polaris75, available on TaoBao.
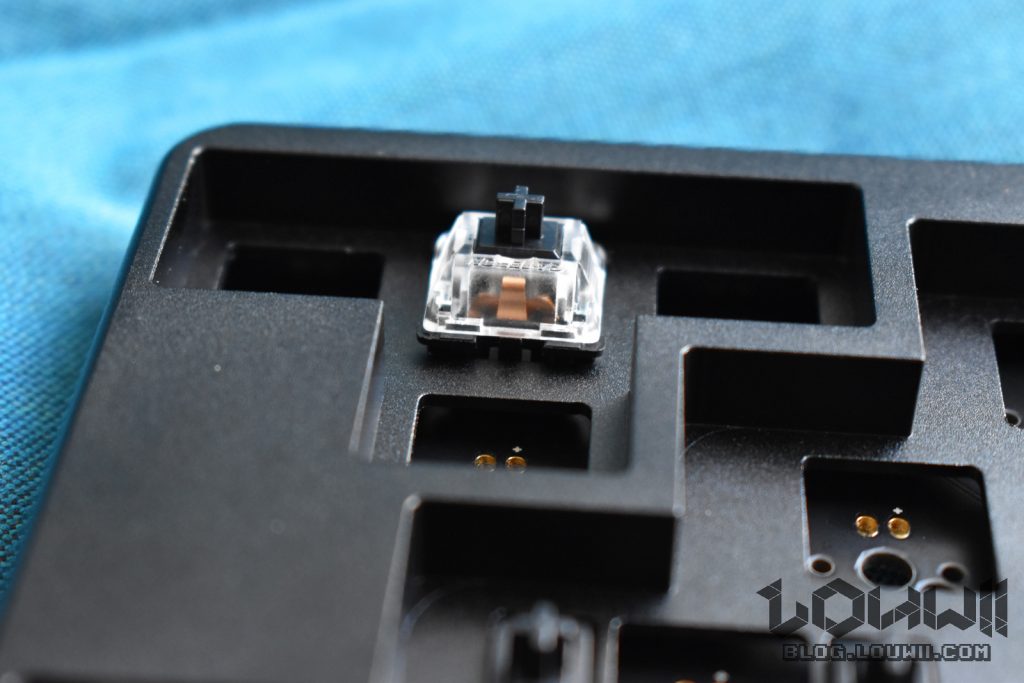
I then checked the stabs… Some were not installed all the way. And they are so bad. I put in a switch for the enter key, put a keycap on, just to try. And that’s when I knew there was no way I could use those. The feeling was really bad, they’re super scratchy. And they sound so bad too.

So I threw in stabs I had lying around. Not the best stabs, but a bit of lube on the wires, band-aid mod done as well, and they’re ok. I know I can go back and change them again without too much pain anyway, so they’ll do for now. I did a test with a switch on all stabs to make sure they were ok before putting everything back together.
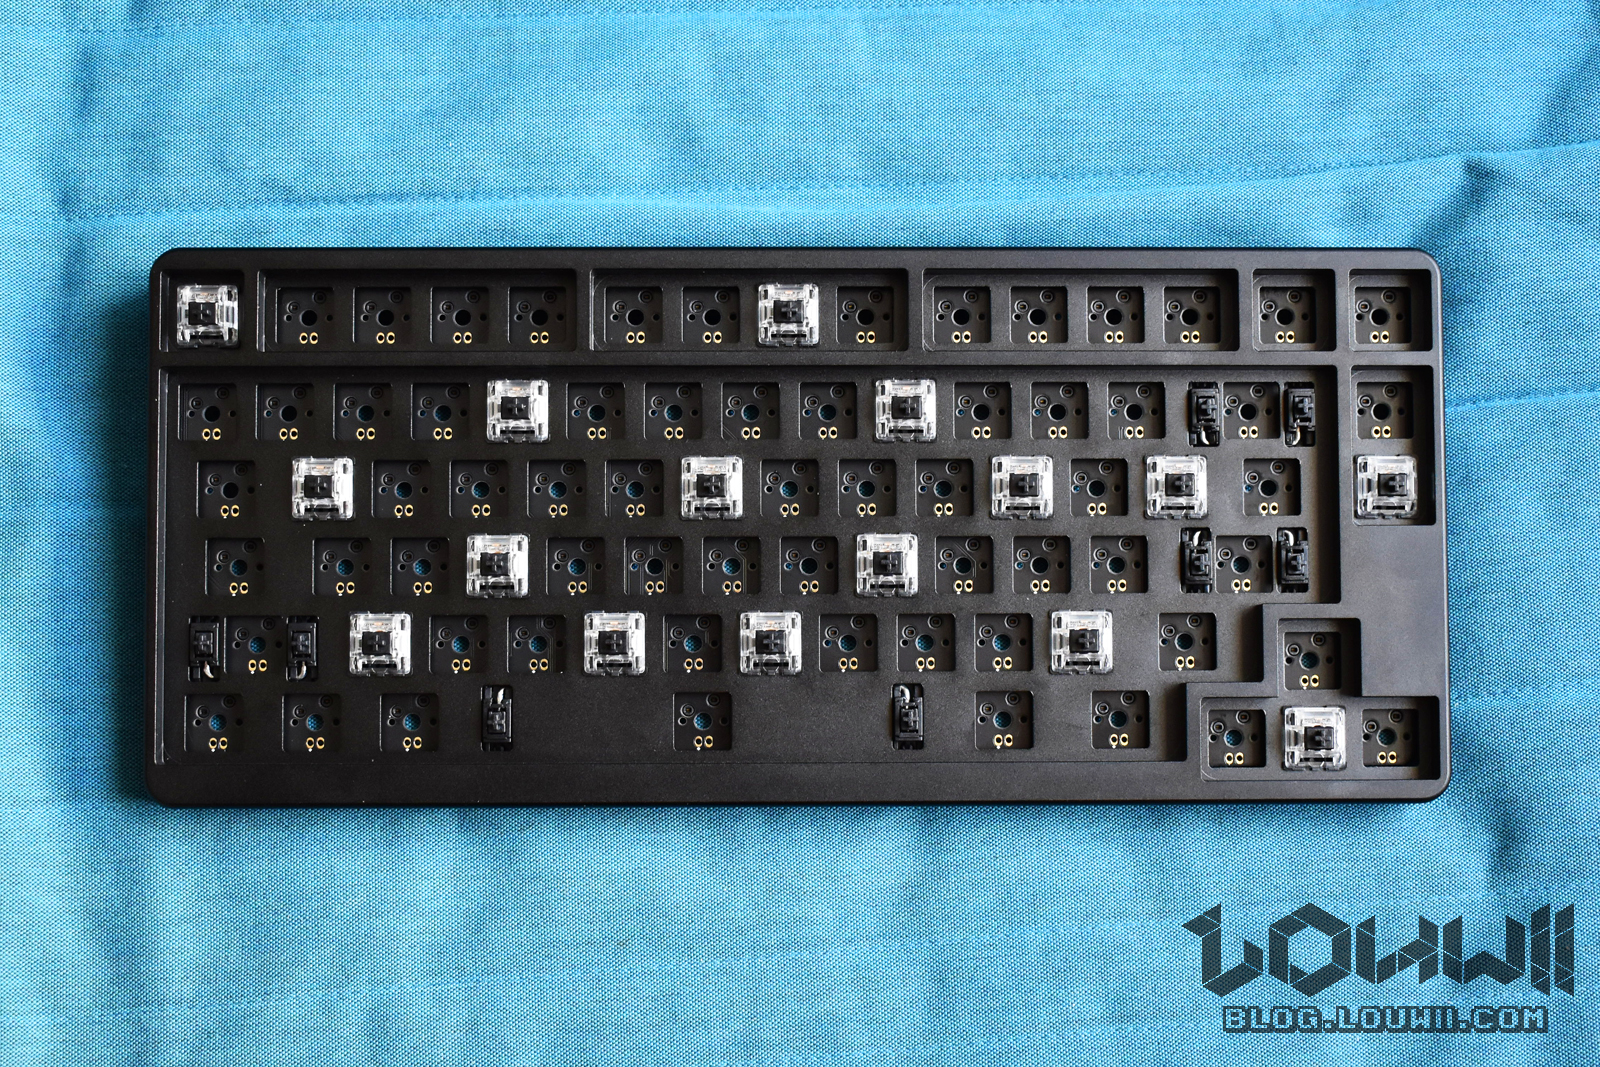
PCB back in, all golden Phillips screws in. Then plate on (the notch on the plate needs to be at the bottom). Now it’s time for the tedious part, installing switches.
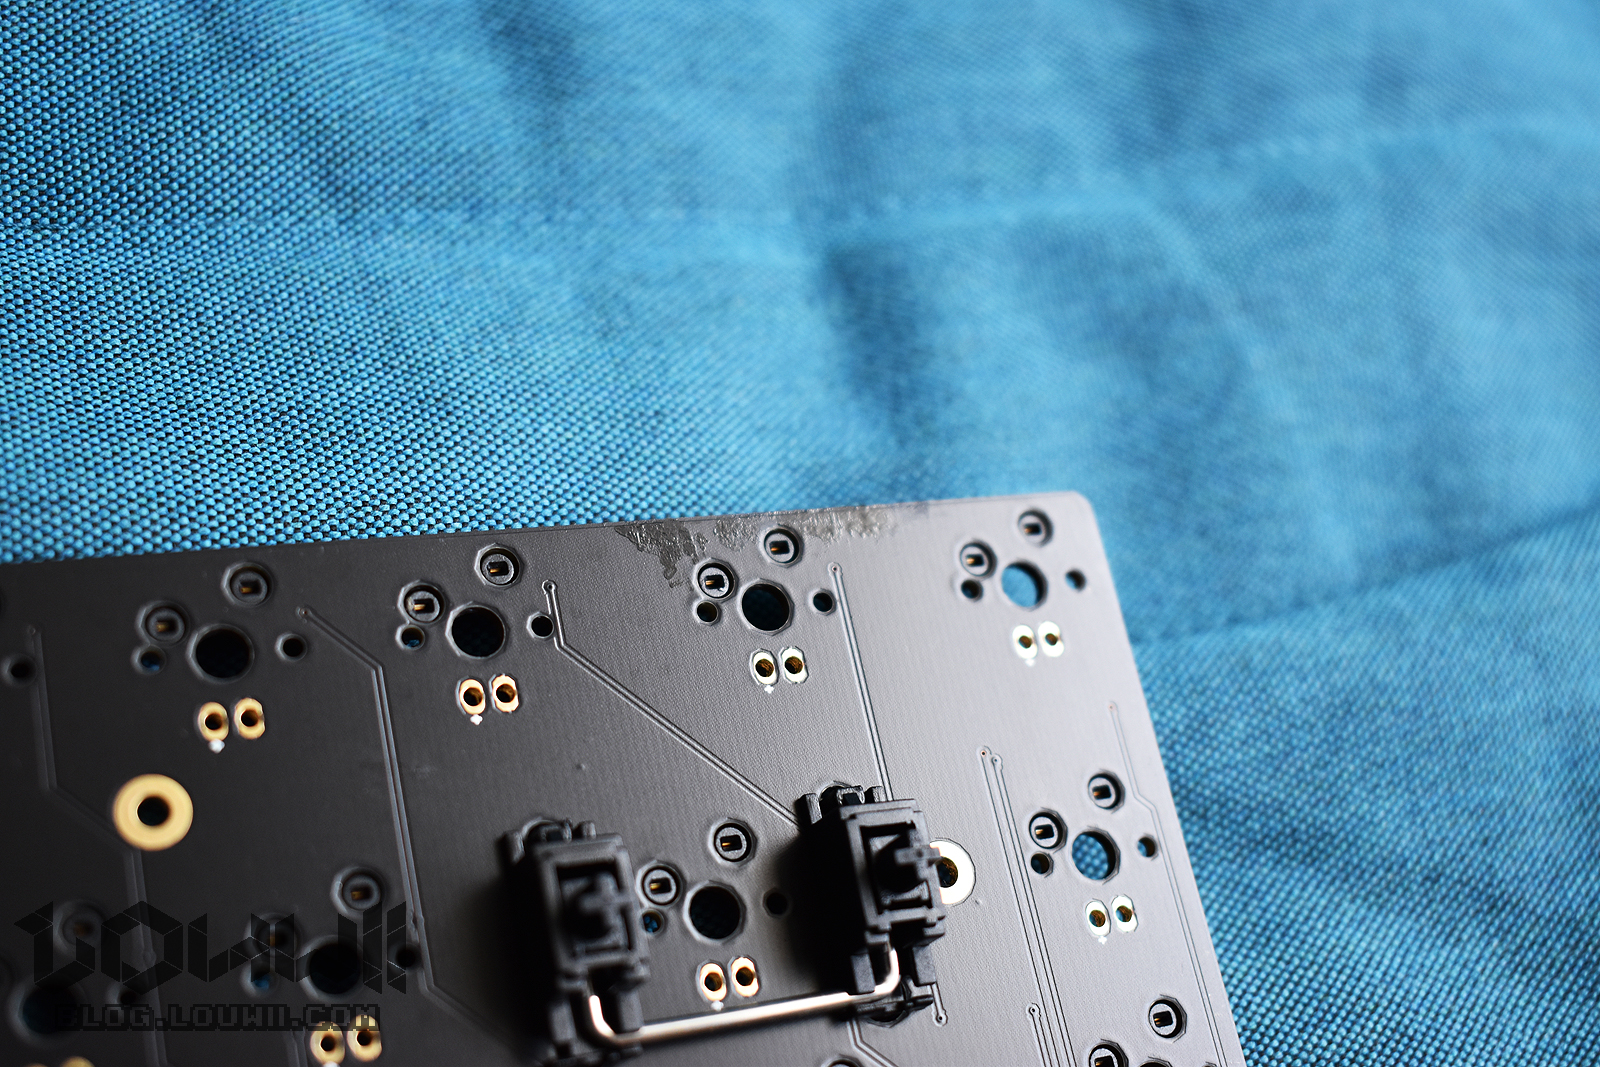
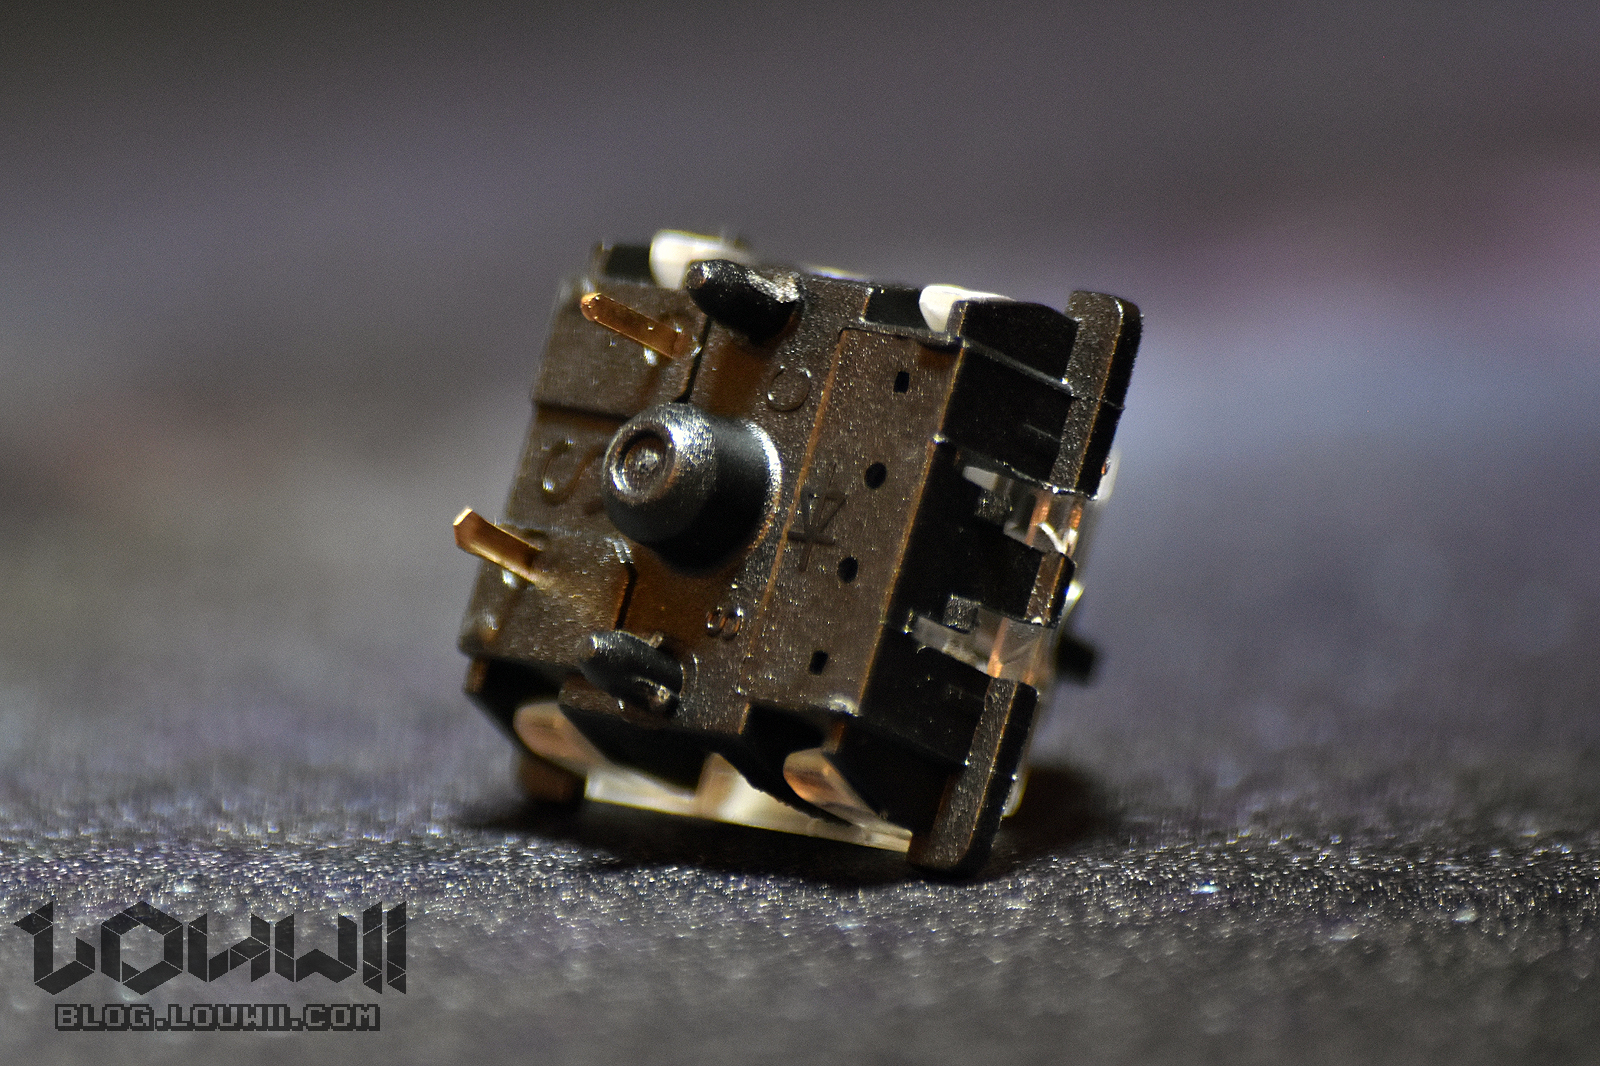
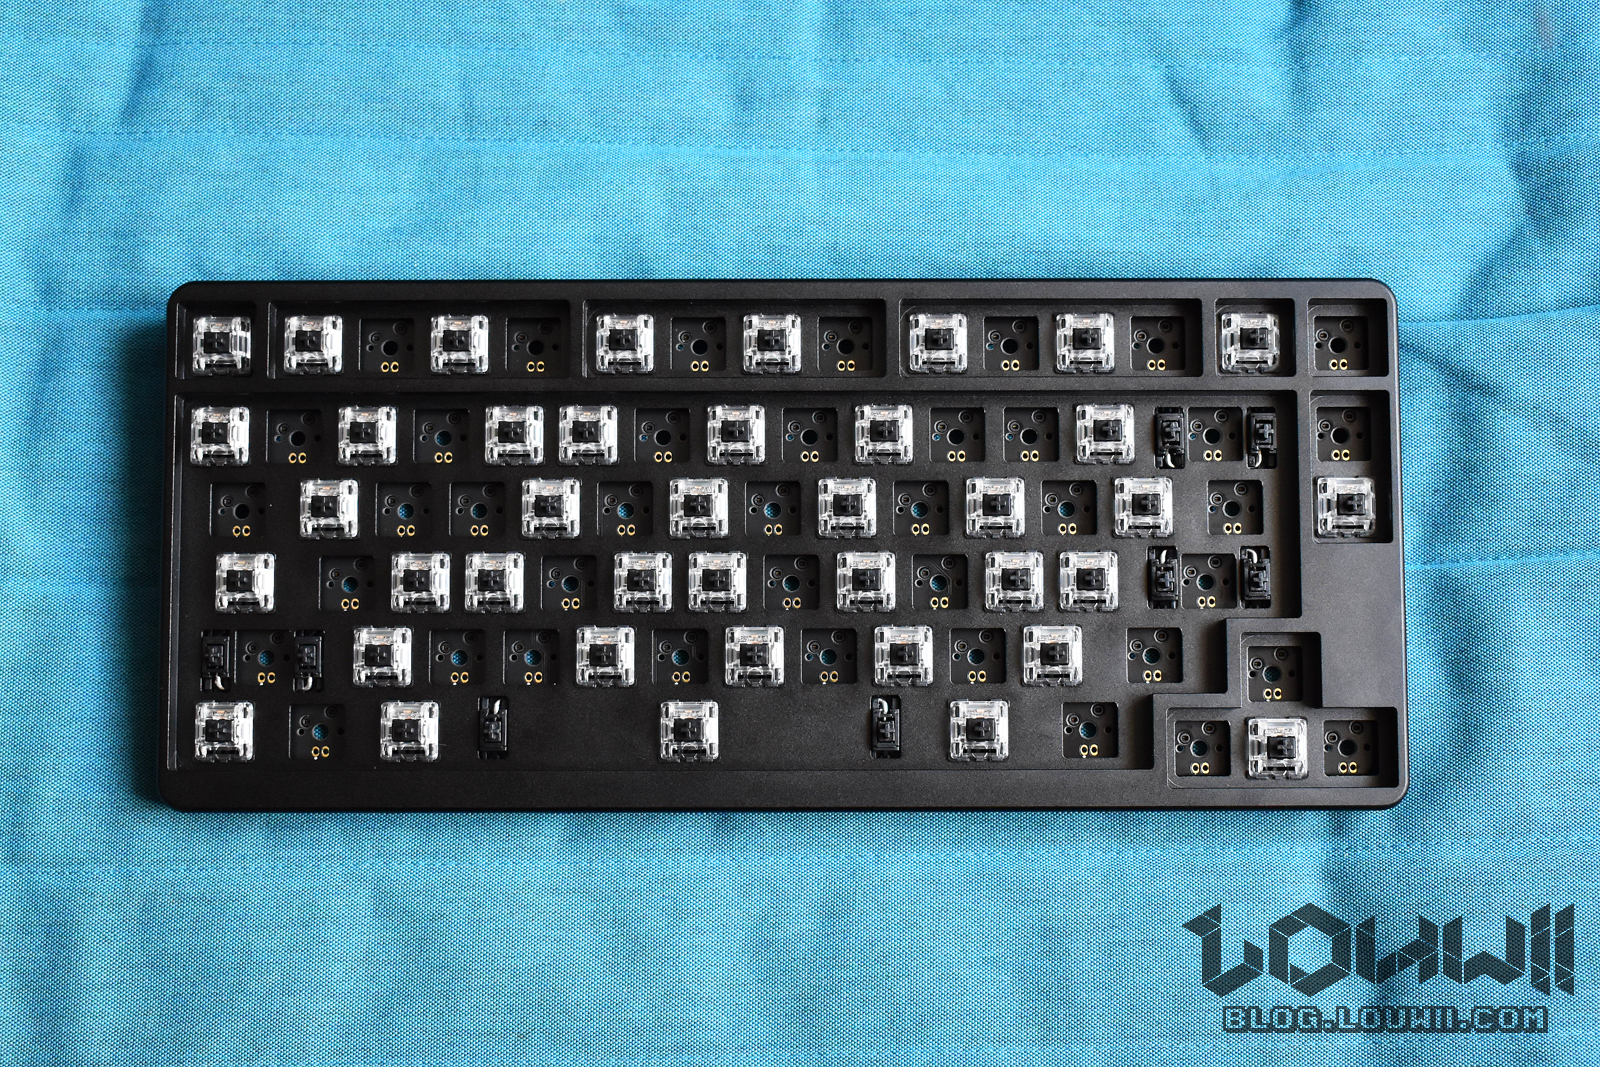
Tedious? But installing switches on a hotswap PCB should be easy and fast, right? Well, yes, but… I had 5 pins Gateron black for that board. And installing them wasn’t easy, nor fast. The 2 extra pins on each side of the switch are making it hard to push the switch entirely in. After inspection, the holes that they’re supposed to go in (in the PCB) are a tiny bit too small. Forcing the switch in actually shaves a bit of plastic from the pins. I did try a 3 pins switch and it was super easy and fast. I tried Giant V3 switches made by JWK which have 5 pins and they fit easily as well. So not sure what’s up with my Gaterons, definitely not the board’s fault, I think.
Trying to insert a switch in… 
Yup, definitely not in 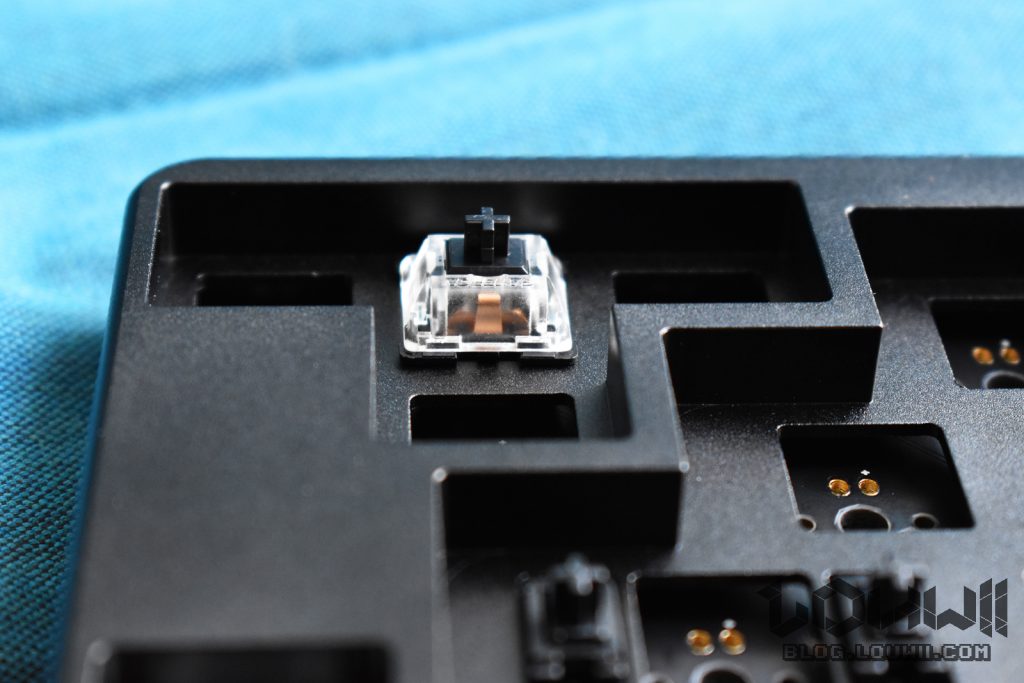
Pushing harder 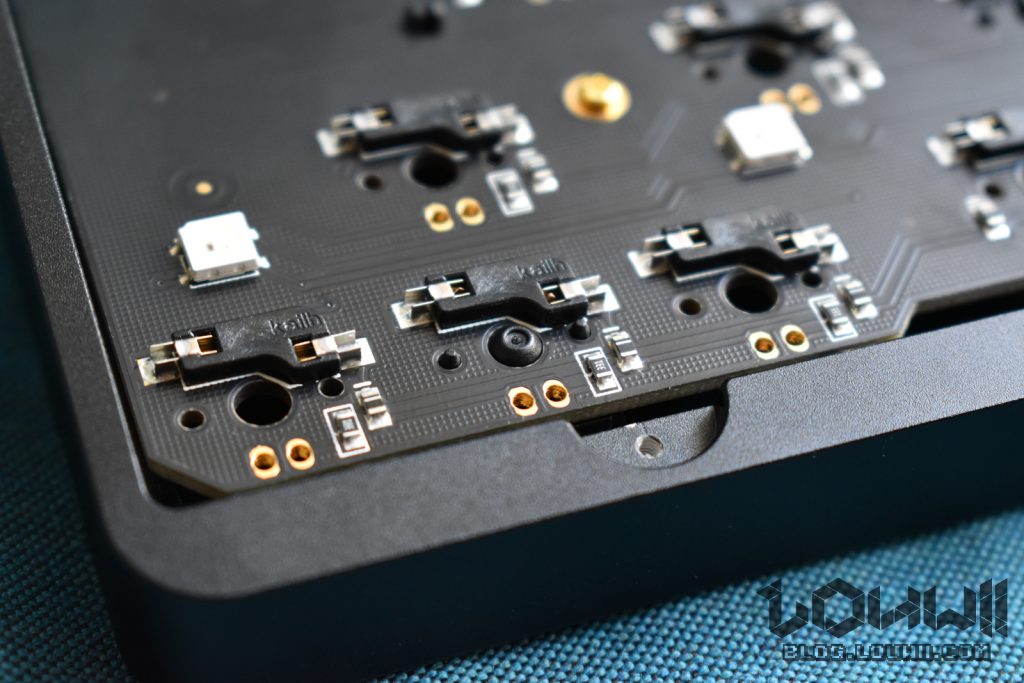
There you go! 
Damage on the 2 plastic pins, especially visible on the bottom one
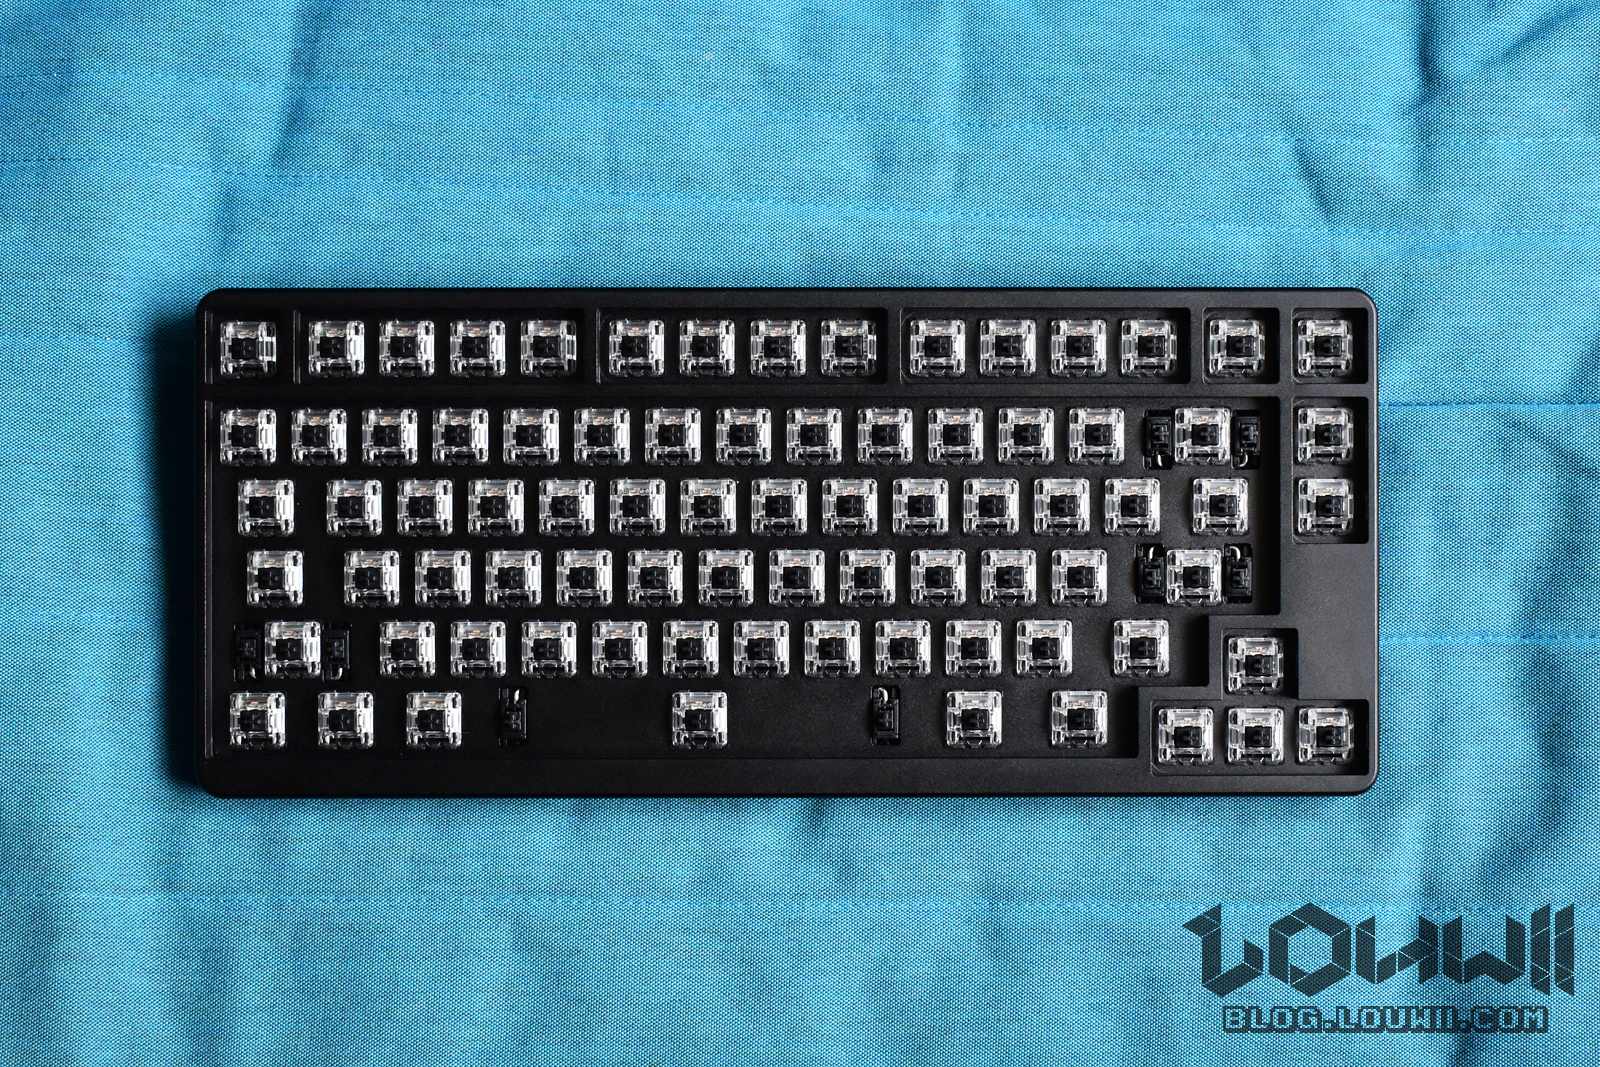
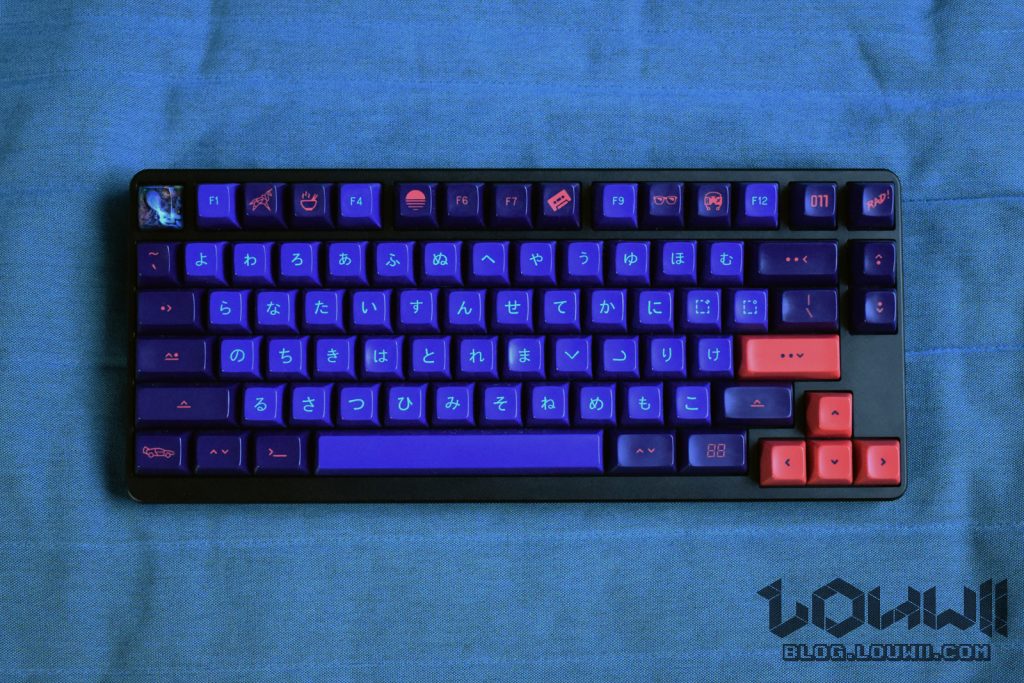
Anyway, after a lot of finger-hurting pushing and forcing, my army was installed. Looking at a board with all its switches is really satisfying. Especially when the board and switches colors match.
Once that’s all done, it’s time to install the keycaps. I went for SA Laser, the nicest keycaps I own. And I think they fit pretty well with the black color of the case. (I later changed the enter and arrows to the dark blue to match the other, its looks even better)
That’s it! I’m not gonna detail how to customize the keys in QMK. You can find an example in my XD87 build series (see here).
I’ve been using this keyboard daily since I built it in July and I really like it. The layout is perfect. The sound is great, not as good as the high end boards of course, but really not bad. I think it could even be better with some thick foam in the case. I might get some sorbothane to put inside and see if it changes anything. Given my experience, I recommend it.
Don’t you mean: ID80? It also runs VIA. I have a black one too.
Isn’t this a ID80?
I’m typing on one now.
It also has VIA support.
Should look into the PCB foam kit and Acrylic base for it too.
https://i.imgur.com/D87s2Kg.jpg
Thanks a lot. Looks like I messed up the name everywhere, mixed up ID80 with 75%. I just saw that there’s an acrylic bottom and some foam for sale now too. I don’t believe there was any when I first started writing this article back in July. Anyway, thanks a bunch!