The HM-10 and BT-05 modules are cheap bluetooth modules that can be used in various situations, like with an Arduino board, or even in a DIY electric skateboard. But most of the cheap ones use a buggy firmware that make them incompatible with Android 8. There’s a way to fix it though.
If you want to know more about the bug, this blog article contains really good information.
The whole thing is actually a bit of a mess, because chinese manufacturers or sellers sometime mislabel the products. What’s important here is that the main chip used by your module is from the CC41 family. It’s often the CC2541.
But we’ll focus on how to fix that bug. We’ll be following that really good tutorial: How to flash genuine HM-10 firmware on CC2541 (make genuine HM-10 from CC41). You need an Arduino, a computer running windows and a few wires.
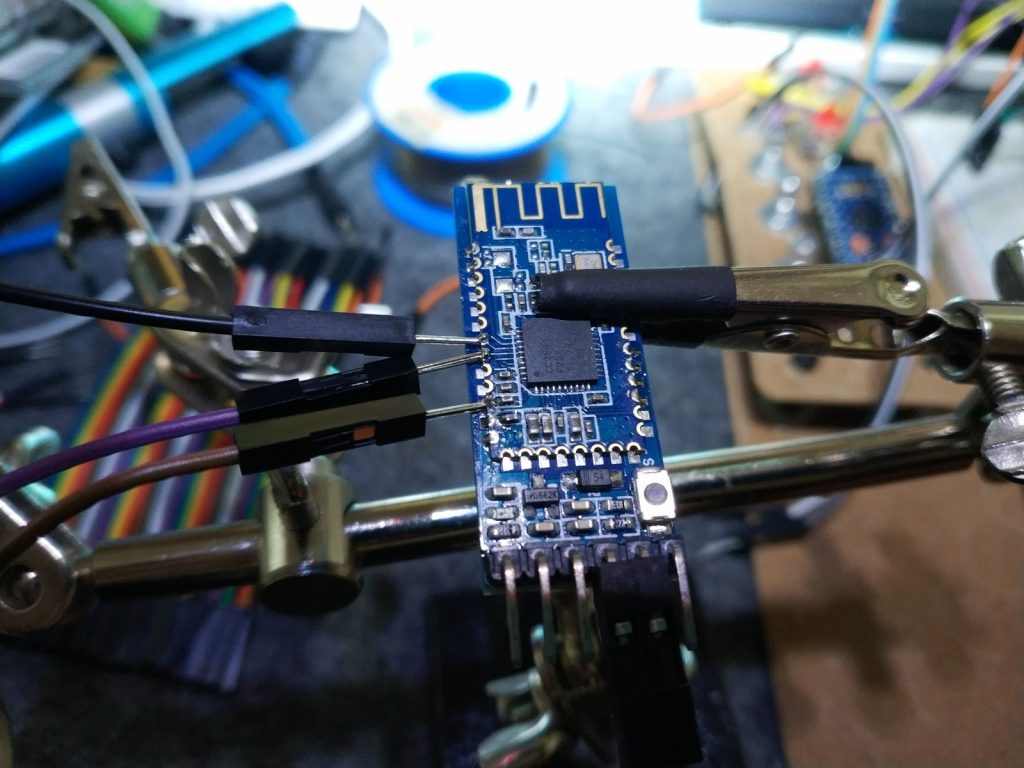
Let’s jump to the hardest part, so you know what to expect. You’ll need to solder wires to 3 points on the module itself. It’s really not that hard, if you are able to do that, you’ll probably be able to follow all the steps.
On the above picture, I soldered 3 dupont cables, and it was really easy. I just dropped a bit of solder first, then press the tip of the dupont cables on the solder drop, press your soldering iron there to make the solder melt again and it should be enough to make the dupont cable to stay there. You can also go for the hardcore way and just press the wires using your fingers or something and pray that they stay in place while flashing.
We need to connect the pins from the board to the Arduino, as follow:
| Name | CC2541 | Arduino |
| DEBUG_CLOCK | Pin 7 | Pin 5 |
| DEBUG_DATA | Pin 8 | Pin 6 |
| RESET_N | Pin 11 | Pin 4 |
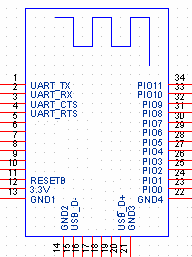
The pin out of the module board are setup that way:

Load the CCLoader Arduino sketch to your Arduino. CCLoader.ino
Once done, download CCLoader.exe from github.
Download the CC2541hm10v540.zip from the forum post. The zip file contains CC2541hm10v540.bin which the firmware we’re going to flash on the module.
Place CC2541hm10v540.bin and CCLoeader.exe in the same folder, in a place you can access from a windows terminal.
If you closed ArduinoIDE, re-open it and keep it open. Check the serial port of your Arduino.
With a terminal, go to the folder and type that command:
|
1 |
CCLoader.exe 3 CC2541hm10v540.bin 0 |
The 3 is the serial port used by the Arduino (found via ArduinoIDE). The second argument is the firmware file. The last needs to be 0, or 1 if you use an Arduino Leonardo.
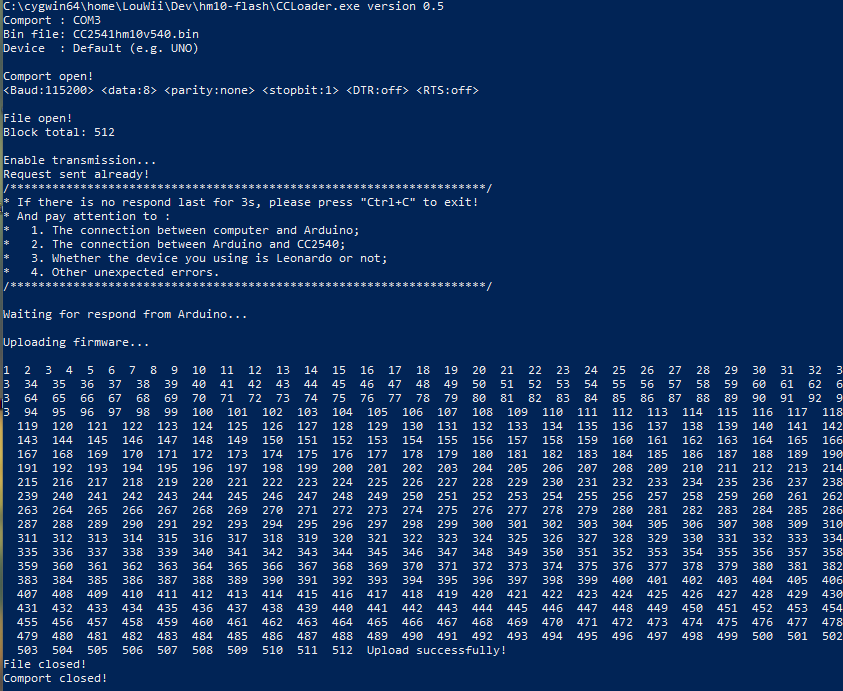
You should then see stuff going on in the terminal window, indicating if the flash process is going well.

You should be all set! The name of the device should show up as “HMSoft” and work with Android 8.
Bonus: the developer that wrote the blog post about the bug also made a very interesting Arduino program to get all the details of the bluetooth module. Check the article out. That program also allows you to change some settings of the module, like its name. The program is on Github.


Hello, is not working STATE pin of module after update. What can I doing? Is another bin file?
I’m not sure, I honestly don’t have a lot of experience with this. This article is what I came up with after reading different things about the bug, all the links are in the post. I just tried to flash it and was lucky enough to get it to work I guess.
Are you sure the bluetooth chip is the same that I have? The firmware you flashed might be incompatible with your chip.